1) The wooden enclosure of the SLOrk speaker holds everything together.
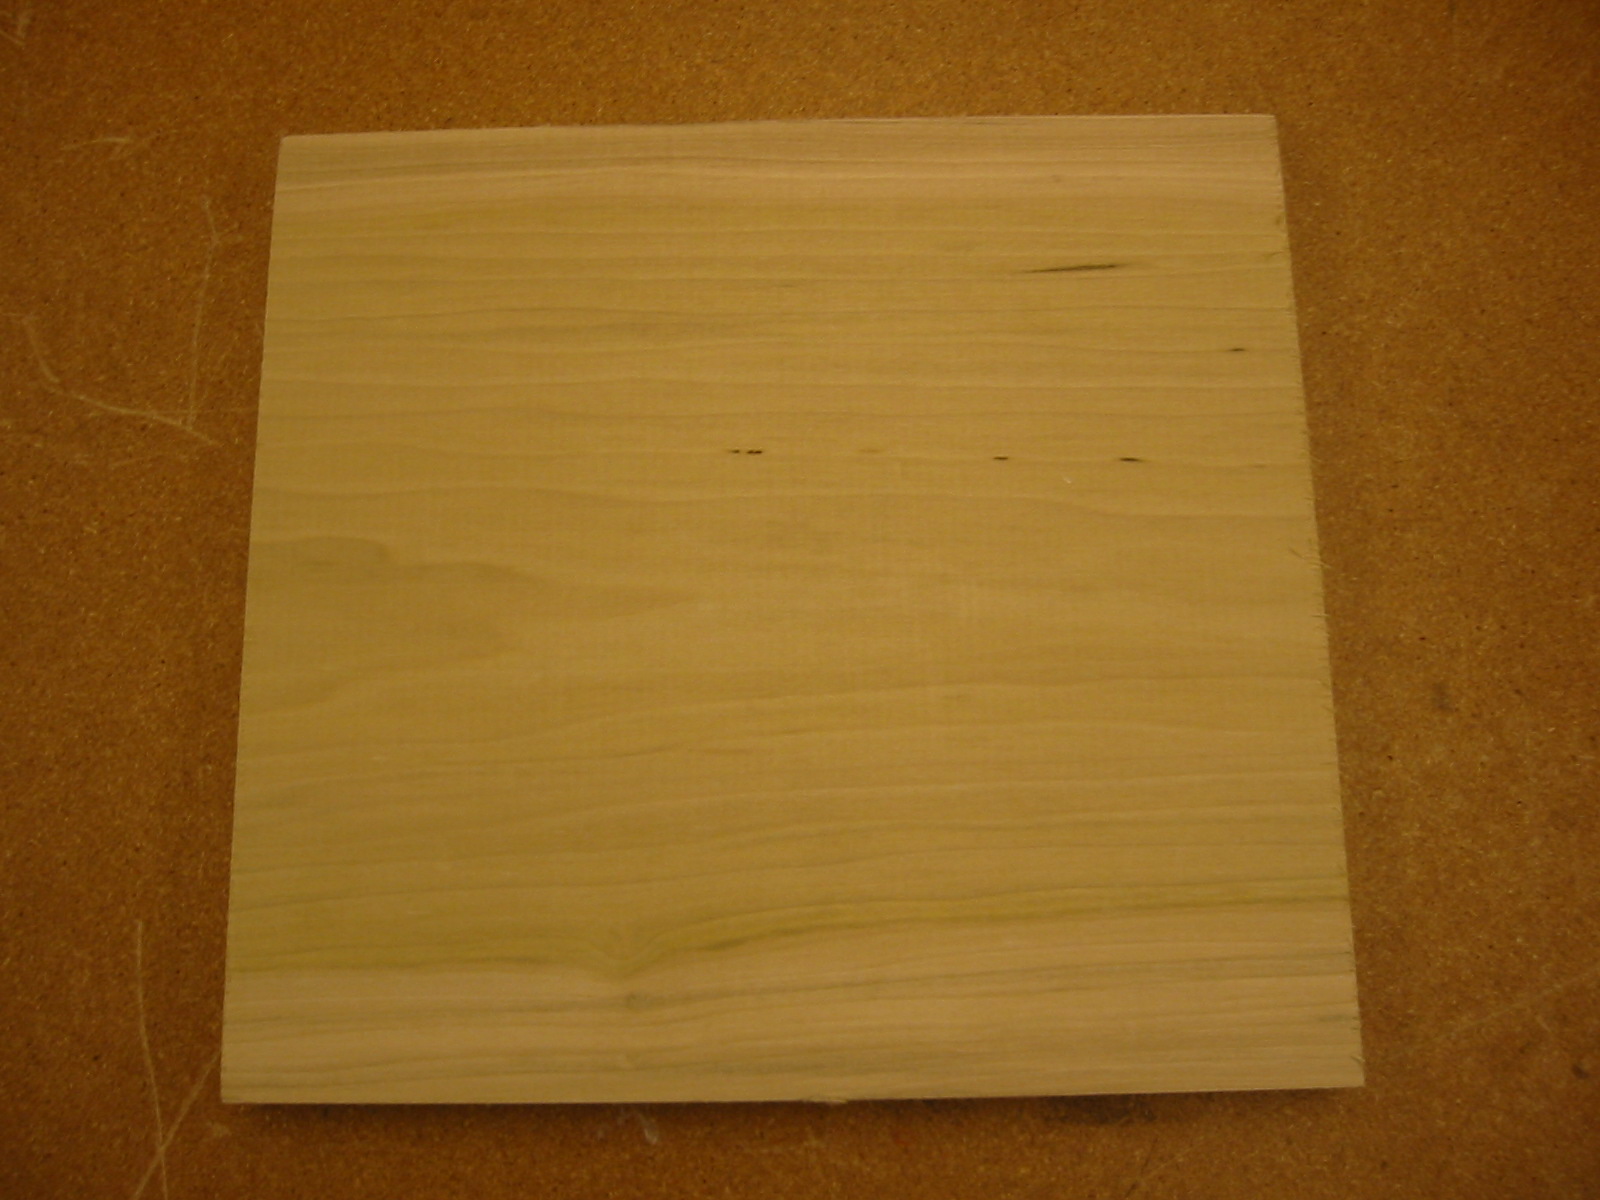
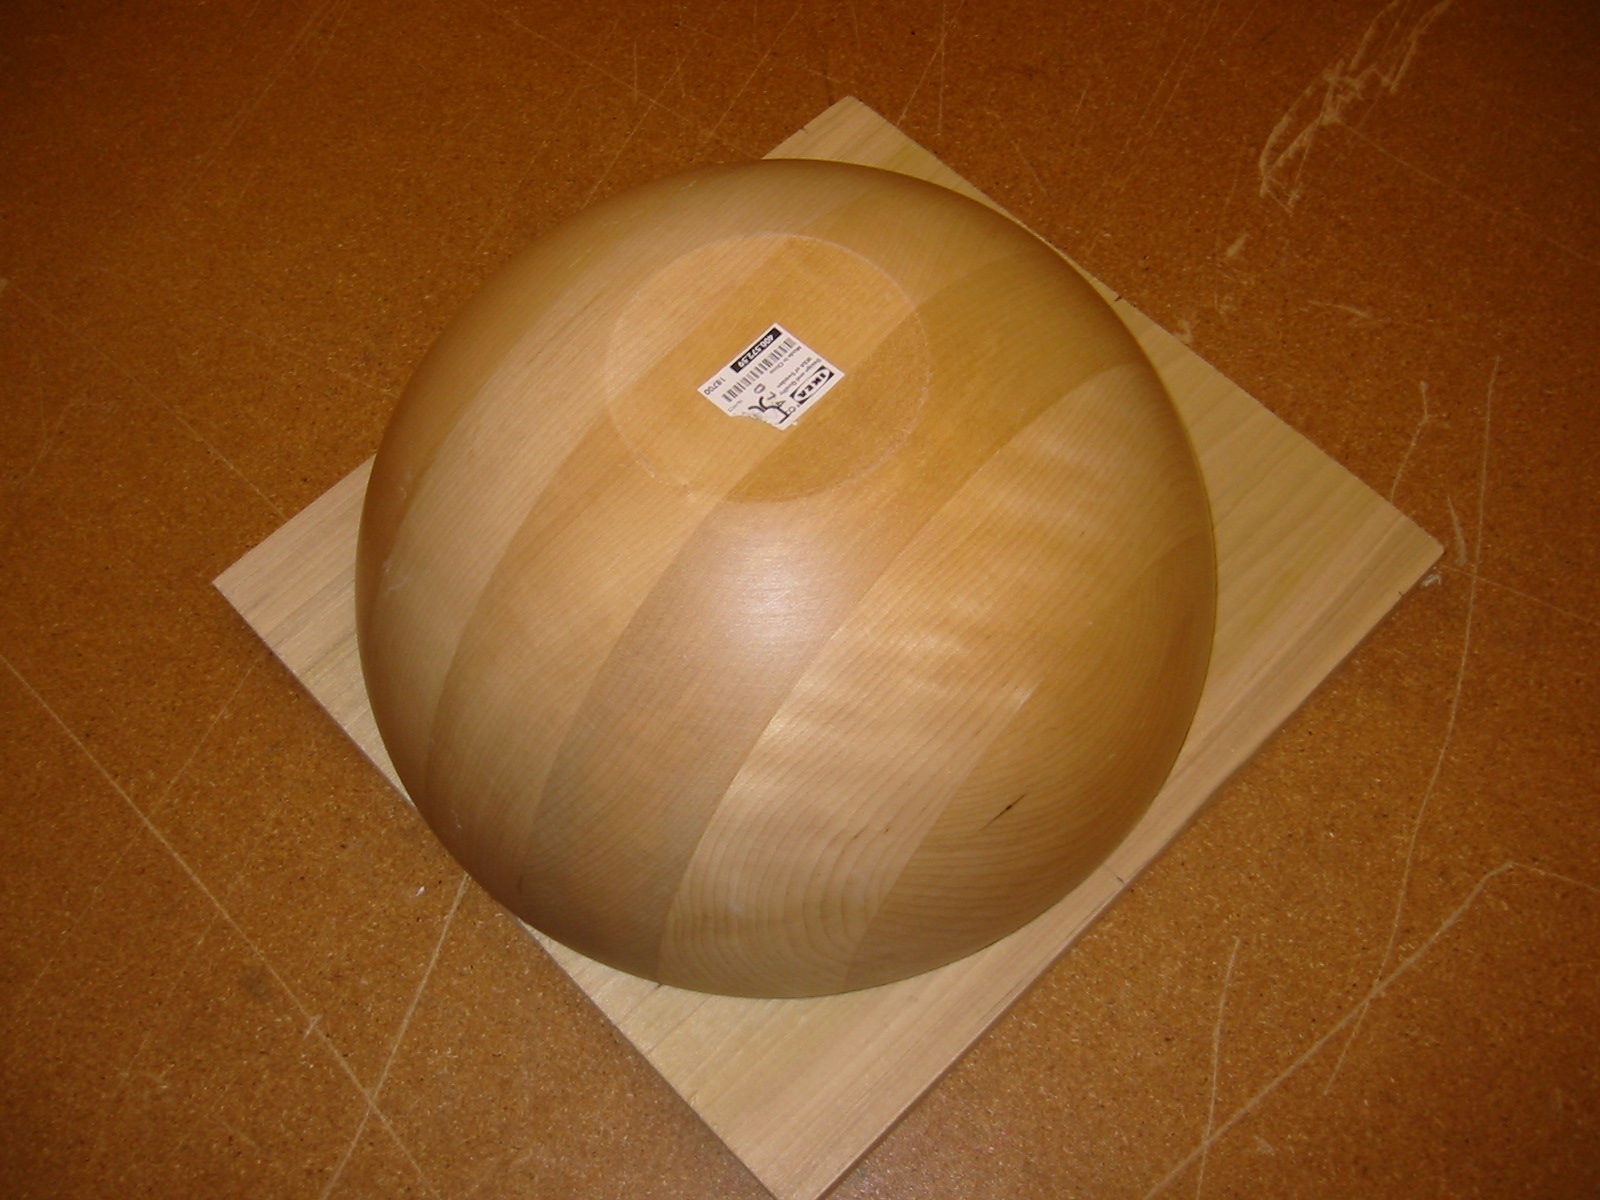
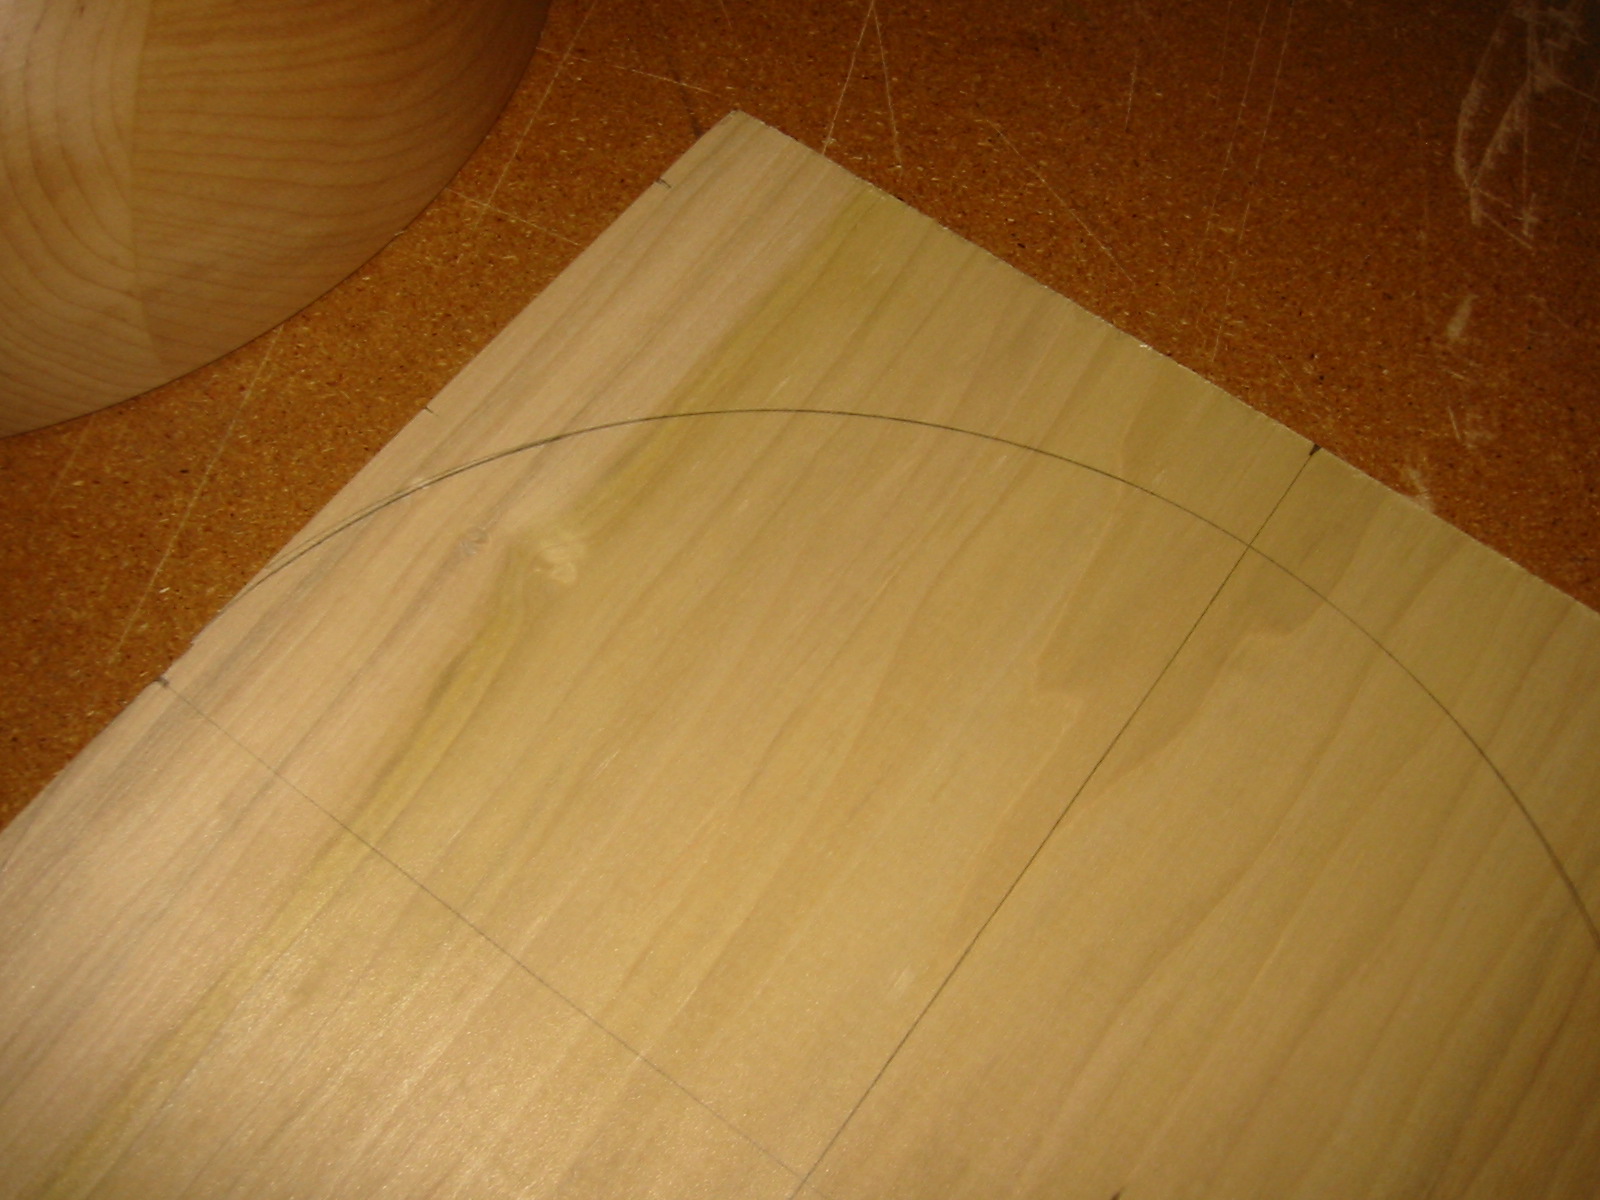
In addition to the pre-constructed hemisphere (salad bowl), a wooden base
must be constructed. Take the thick solid wood square (see speaker supply
list) and trace out a circle for a given salad bowl.
2) Secure the base plate and cut out the circle using a jig-saw or other similar tool.
3) Once a circle is made, an inset must be made for the faceplate and audio jacks.
This can be done numerous ways. For lack of alternative tools, a drill press can
be used as a mill (with milling bit) to carve away about half the thickness of the
base plate over about an eight inch section of the base plate. The exact size should
be custom fit for the length of the faceplate and height of the inset audio jacks.
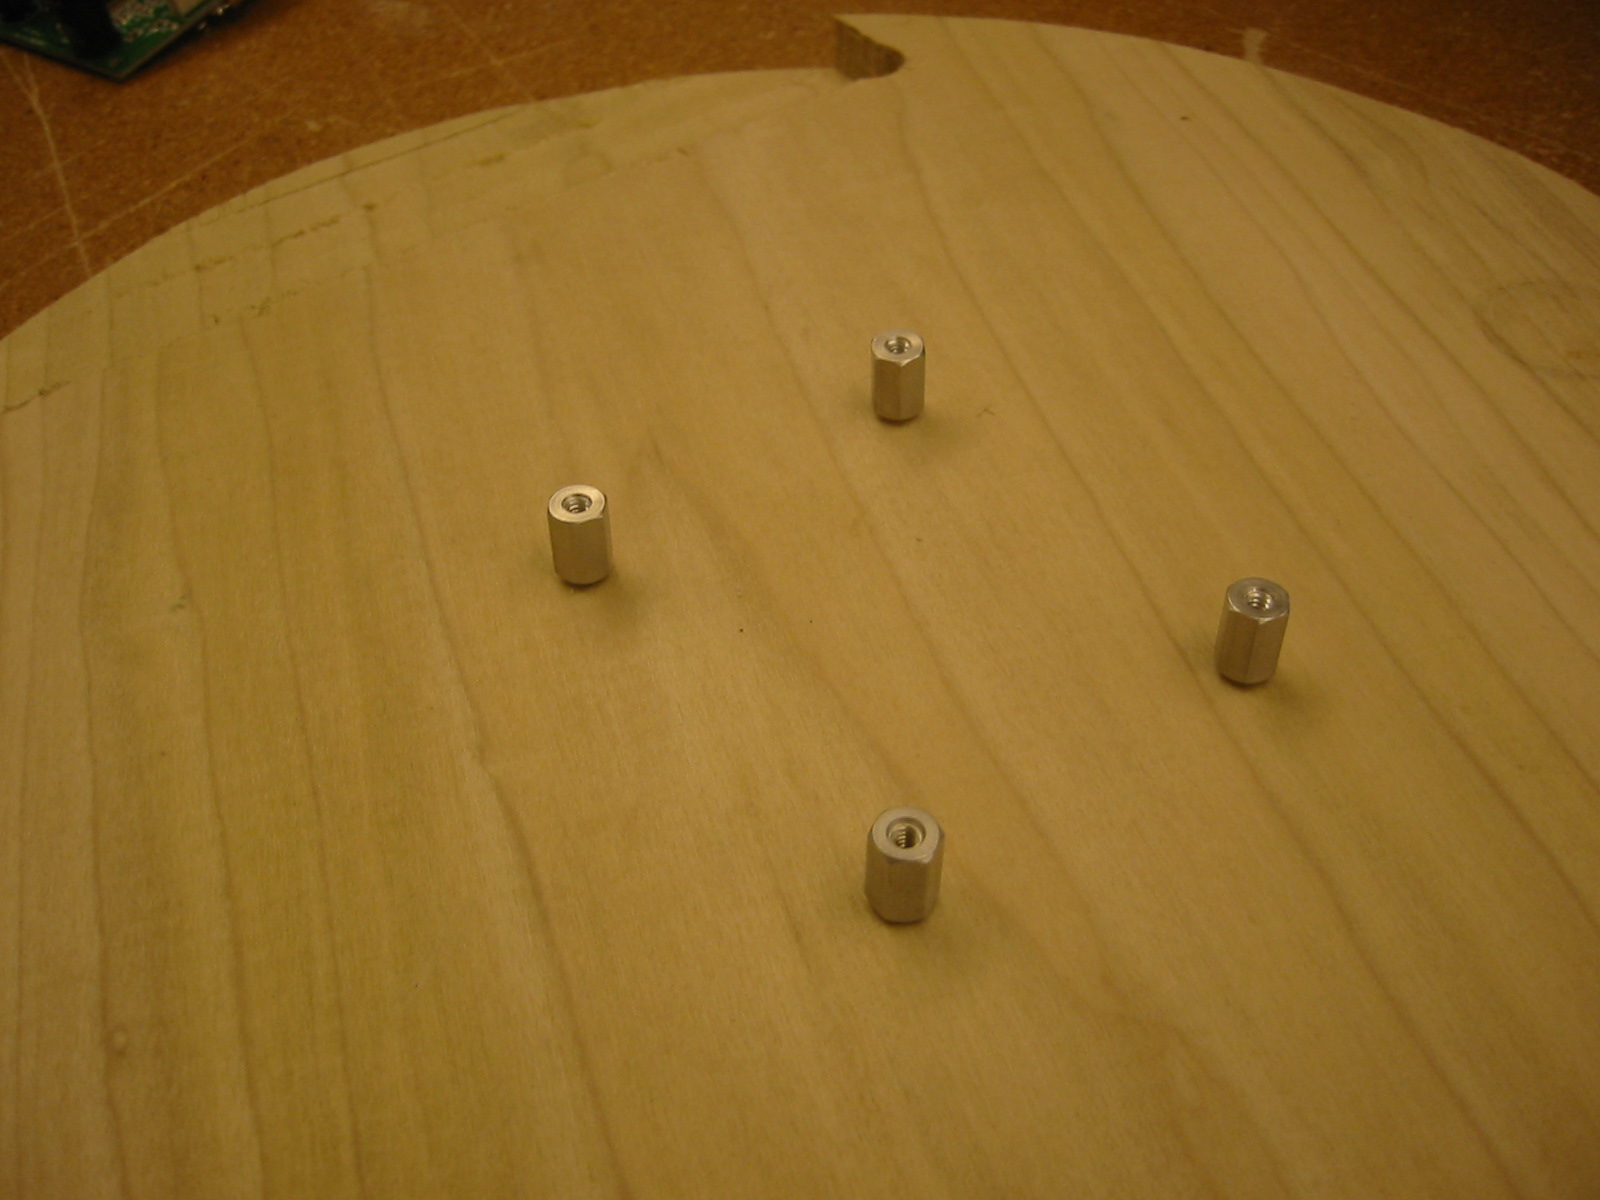
4) Once the faceplate inset is made, the attachment for securing the amplifiers can be made.
Take one of the three amplifier boards that will be used for the given speaker and trace out
the screw hold pattern on the wooden base plate.
5) The hex standoff screws will be used to secure the amps to the base plate, so find a drill bit
to fit and pre-drill the four holes. Once completed, attach in the hex standoffs.
6) Now that the base plate is near complete, the salad bowl top must be prepared. First mark out 5 evenly
spaced center holes around the bowl at a constant distance from the bottom. A string can be used to
measure the center holes. You don't want the speakers to be too low on the bowl, but if they're too
they can possibly not all fit together when all six speakers are fastened inside.
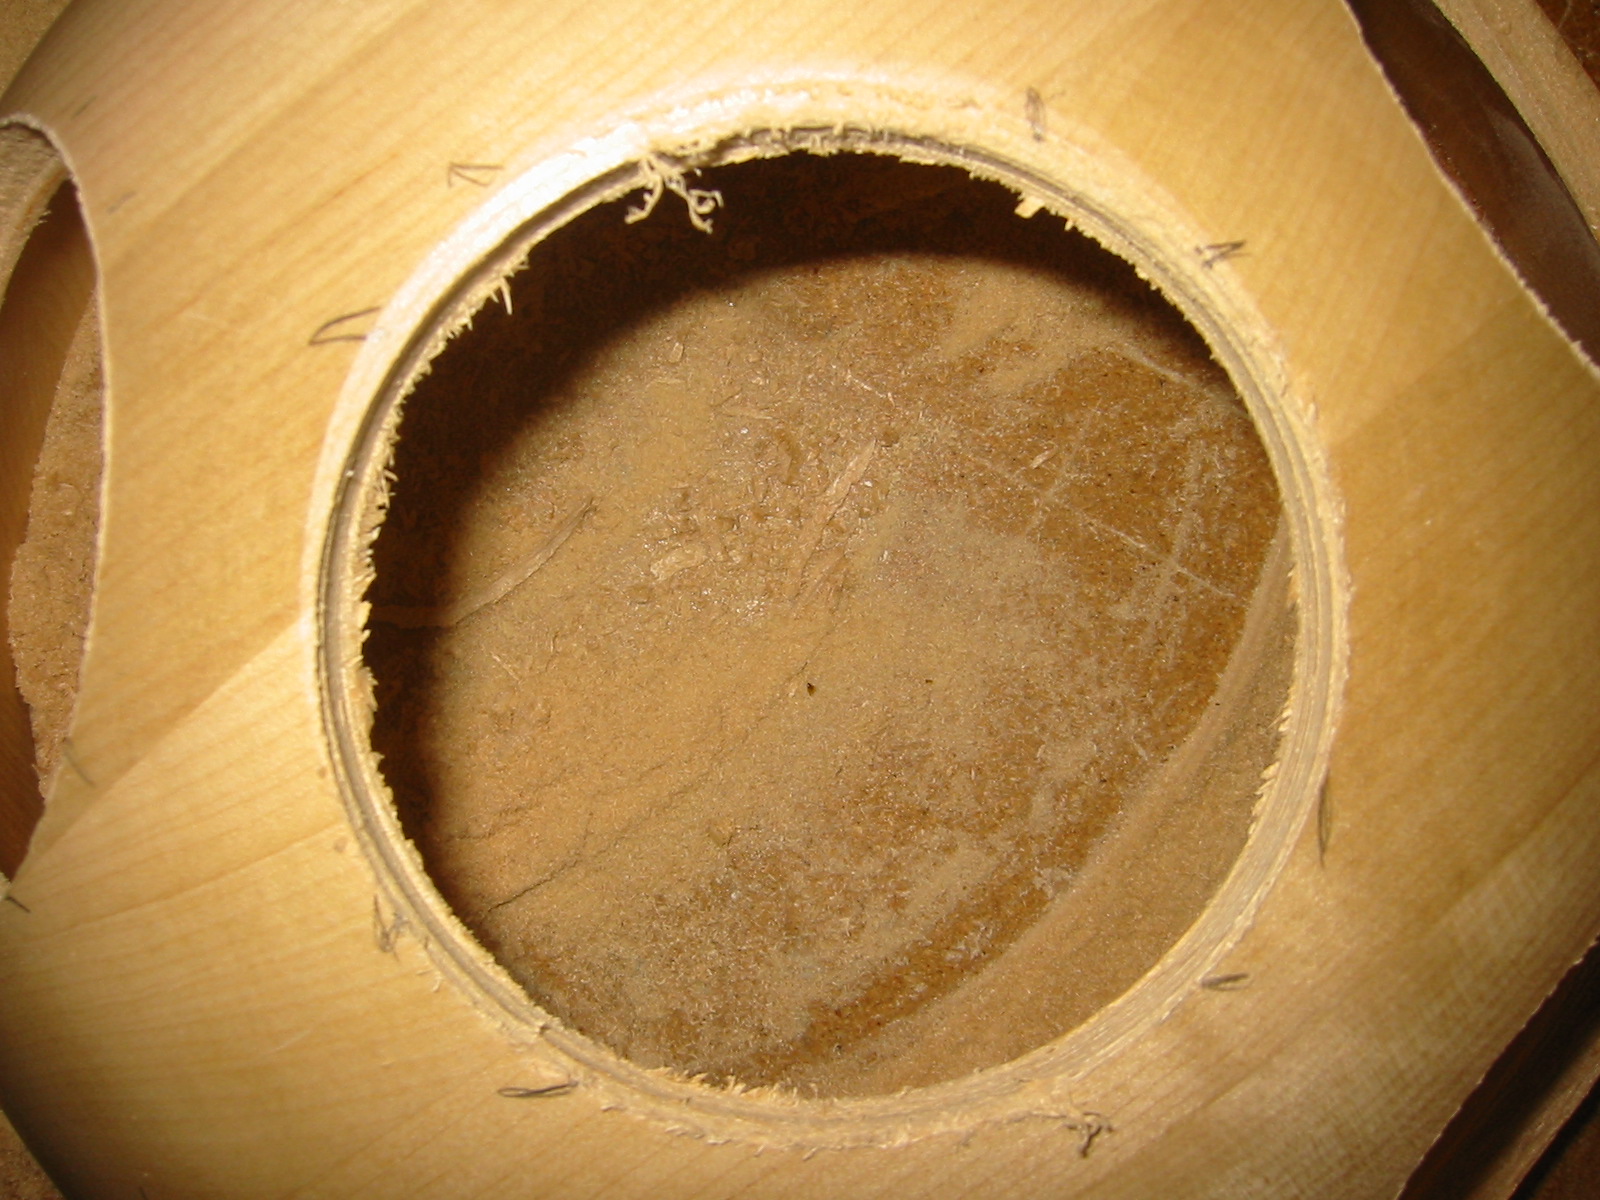
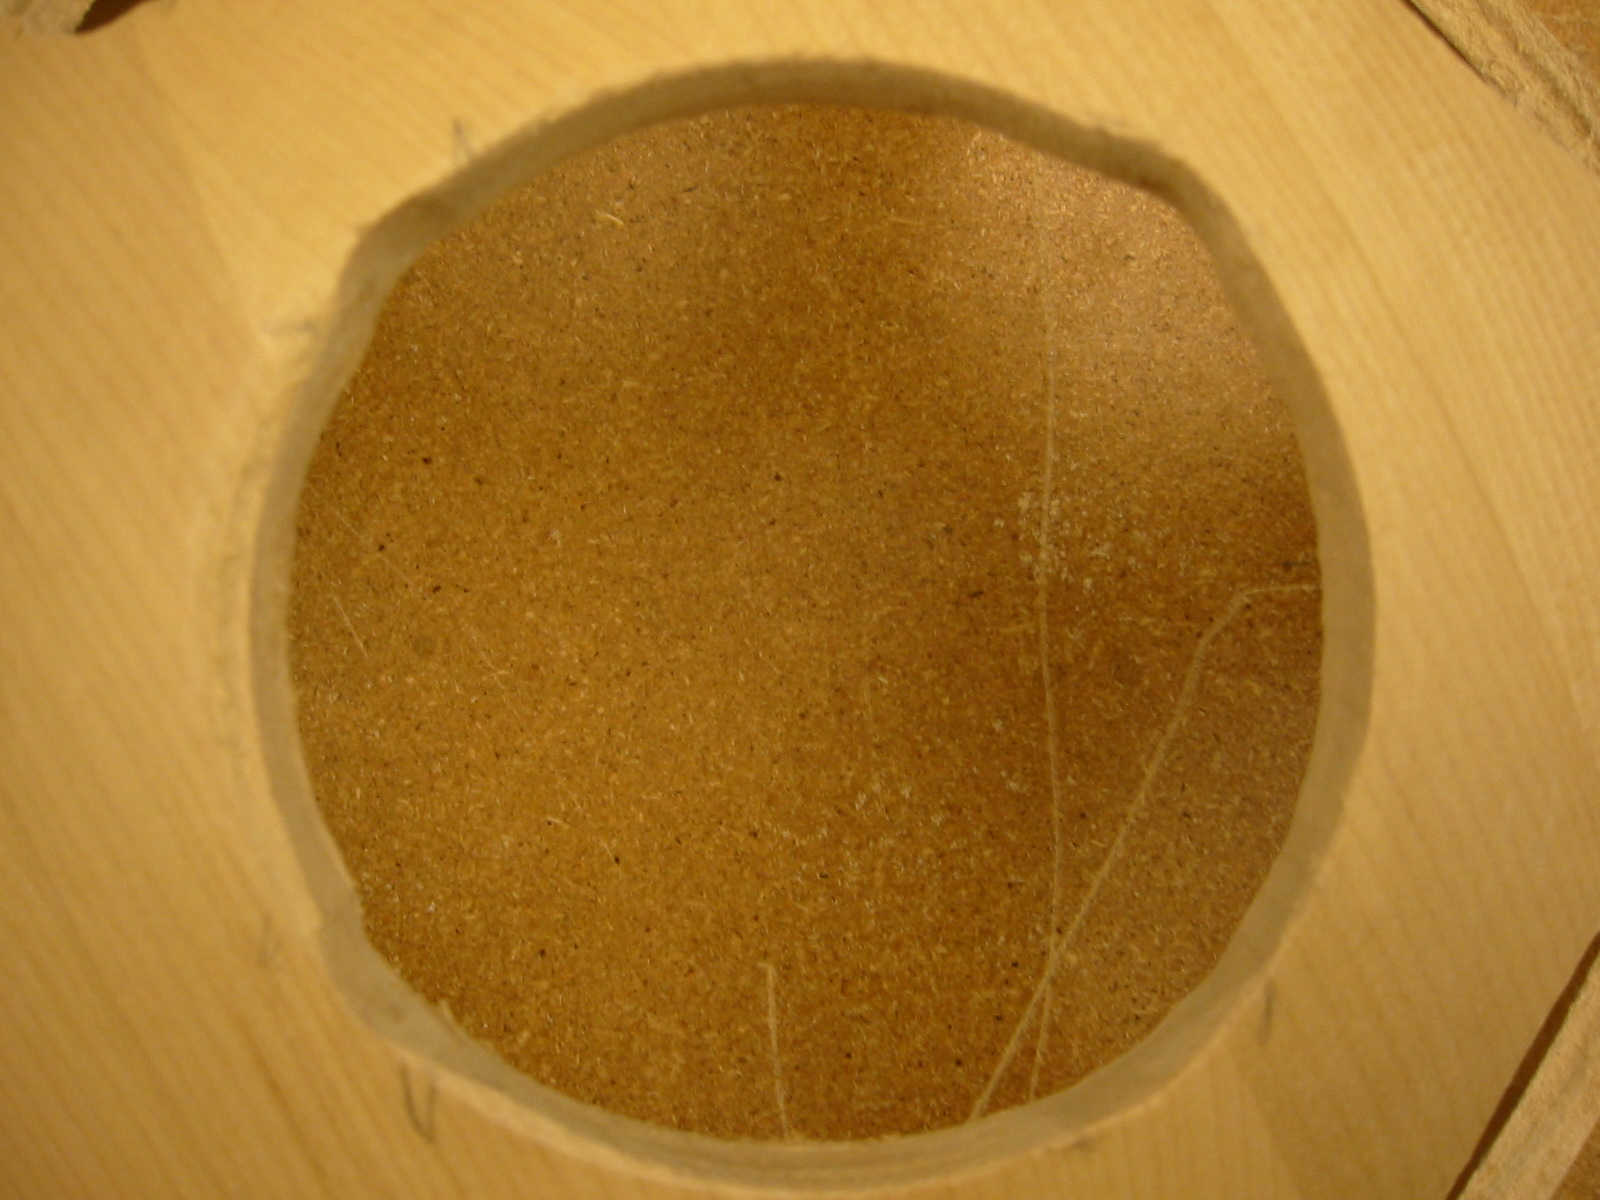
7) Once the center holes are in a good place, get ready for some body-shaking hole saw drilling.
This is most likely the most dangerous and unsatisfactory step of assembly (must be a better way).
Attach the salad bowl to a table using a 2''x4'' and two quick grip clamps. Make sure the bowl
is securely fastened as the hole saw drilling can be a bit rough. Attach the 3.5'' hole saw (with counter
sink) to a power drill and drill away one at a time. You can also pre-drill the starter hole in the bowl
for an easier start. Once one of the holes is complete, readjust the clamps and continue. At this point,
the bowl is quite delicate so don't tighten the clamps too tight otherwise it will crack.
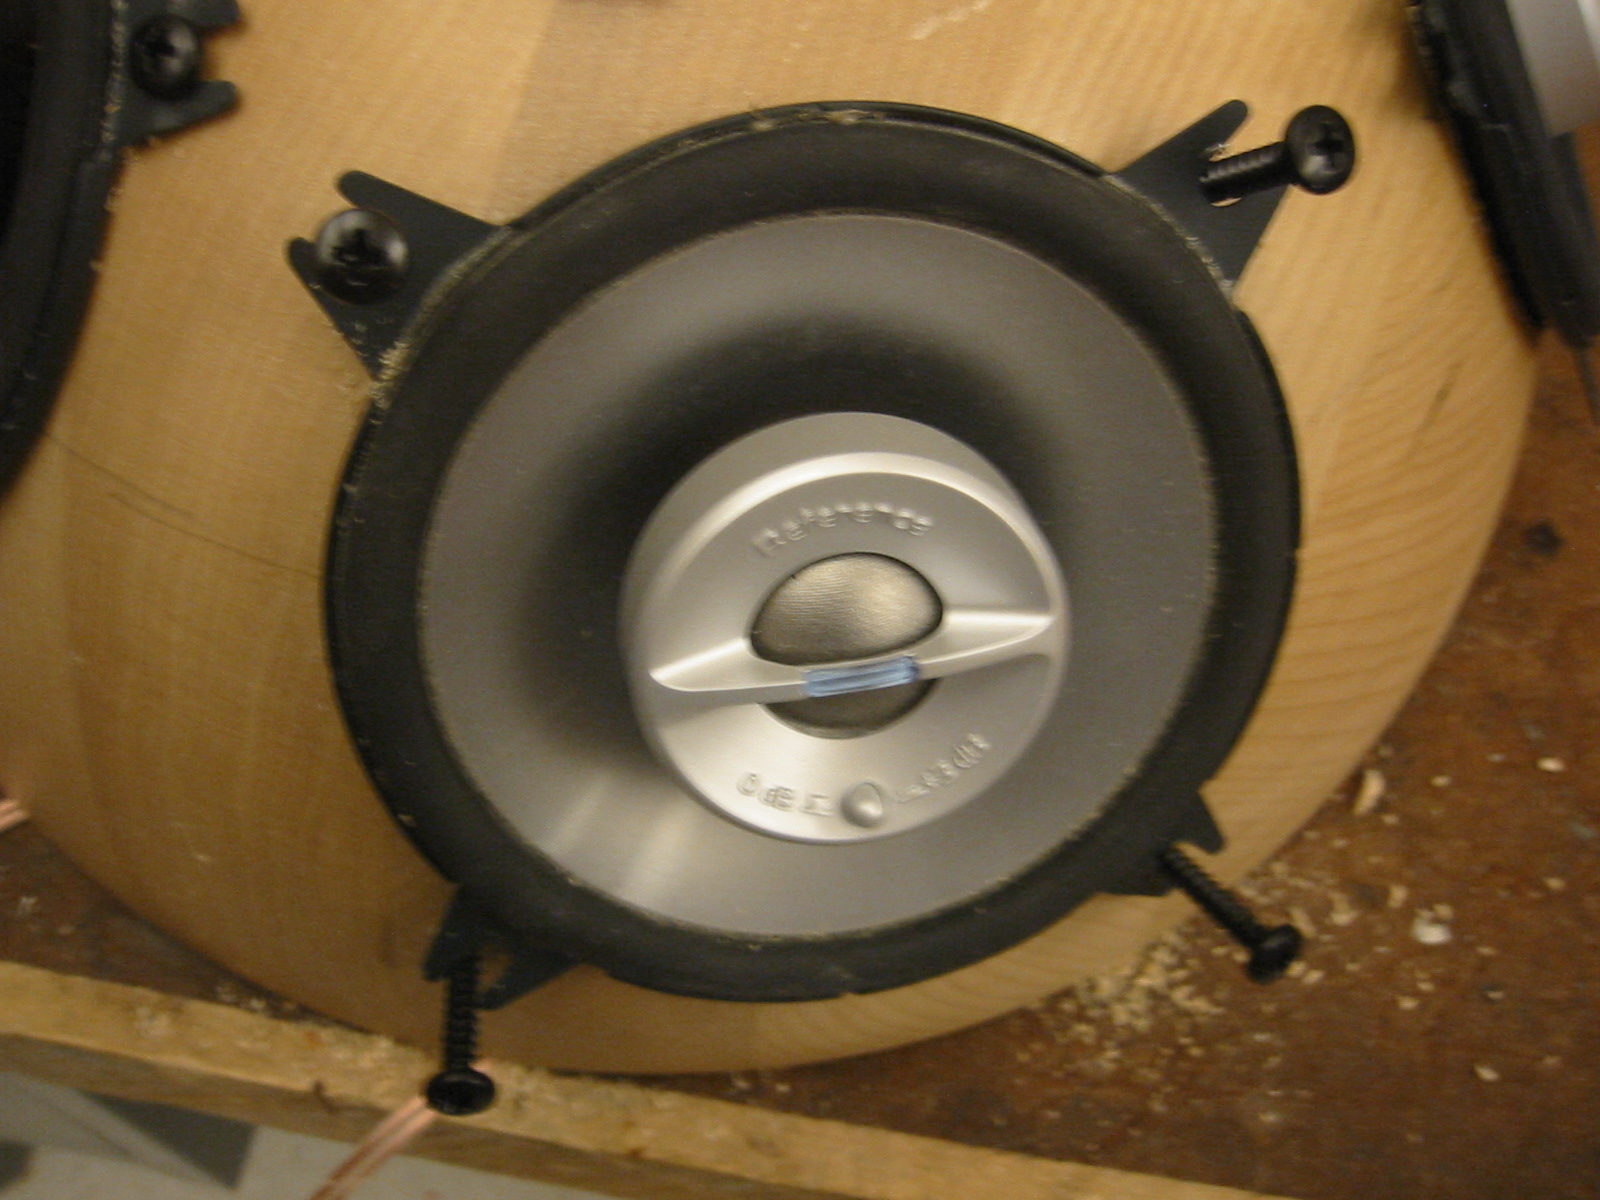
8) Now that all five speaker holes are complete, each hole must additionally sanded down to nicely fit
the speakers. The speakers have four tabs that protrude from the 3.5'' circle that must be sanded down
on the bowl. A dremel tool with sanding bit can be used to for this (see image below).
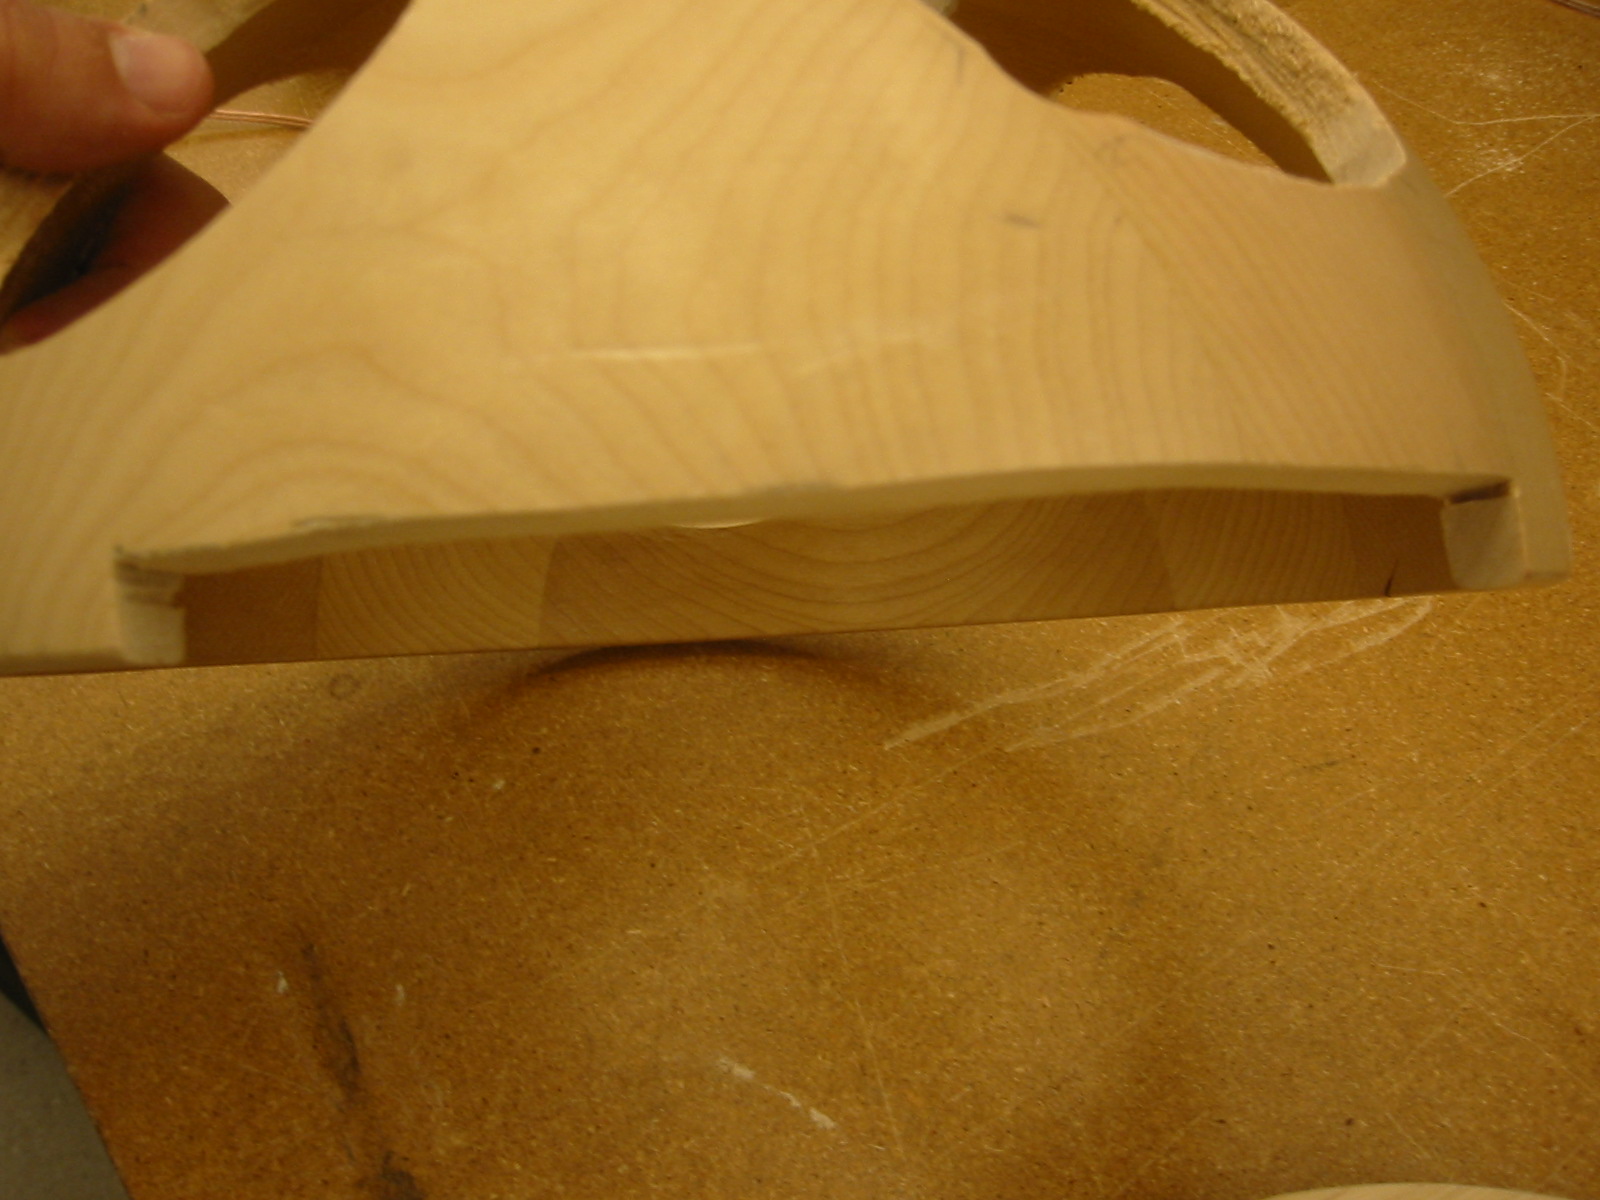
9) From here, a cutout matching the base plate inset must be made to fit the faceplate.
Mark out around an eight inch section, a little less than a half inch tall. Make sure
your faceplate is still larger than the combine cutout of the bowl and base plate, so that
once attached, there will be no holes.
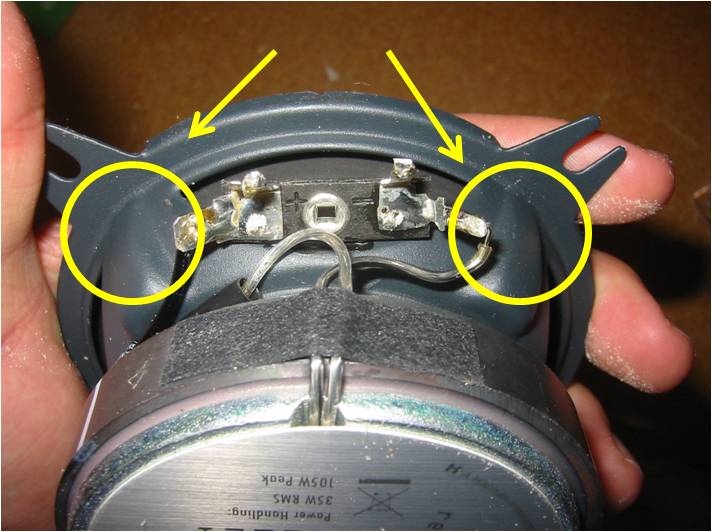
10) Both the base plate and bowl should be almost complete at the moment. Now, take each
speaker and solder on one of the six one-foot long speaker cable pieces.
11) The speaker can be placed in the bowl and fastened down. For each of the four screws on each speaker,
you must pre-drill holes before screwing everything down, otherwise the bowl could possibly crack.
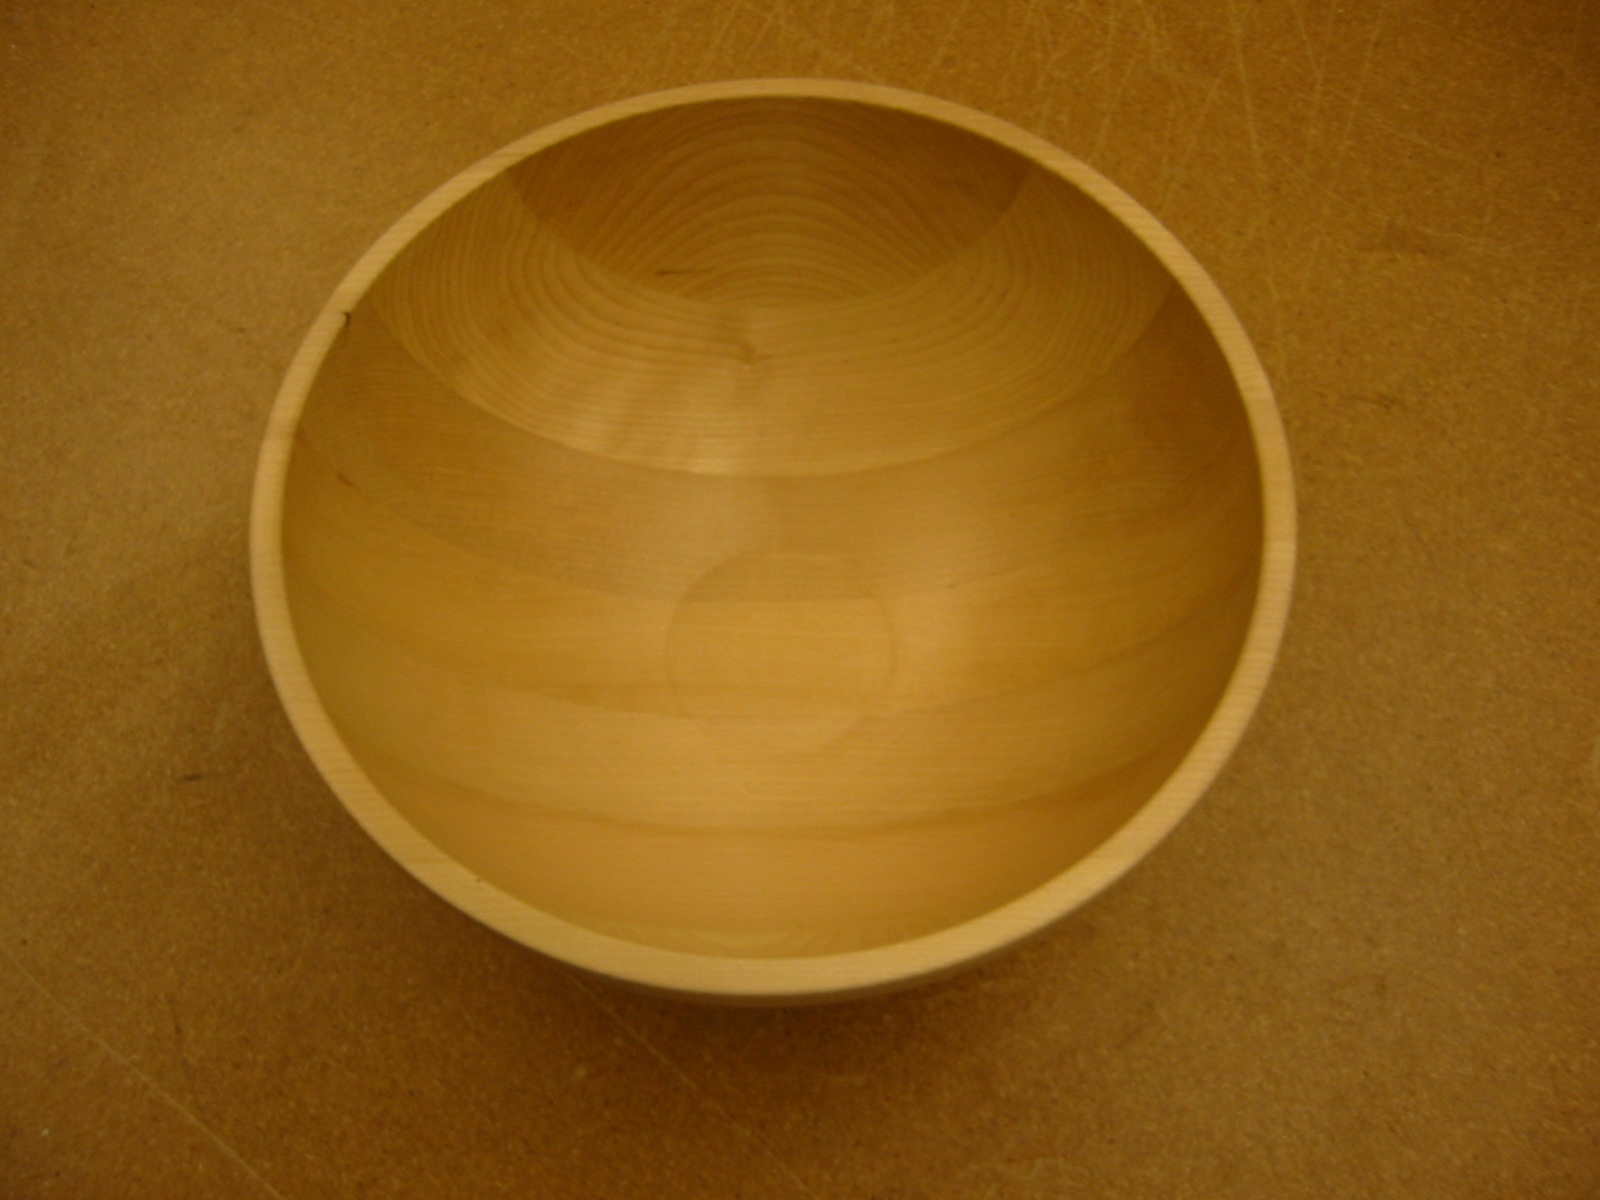
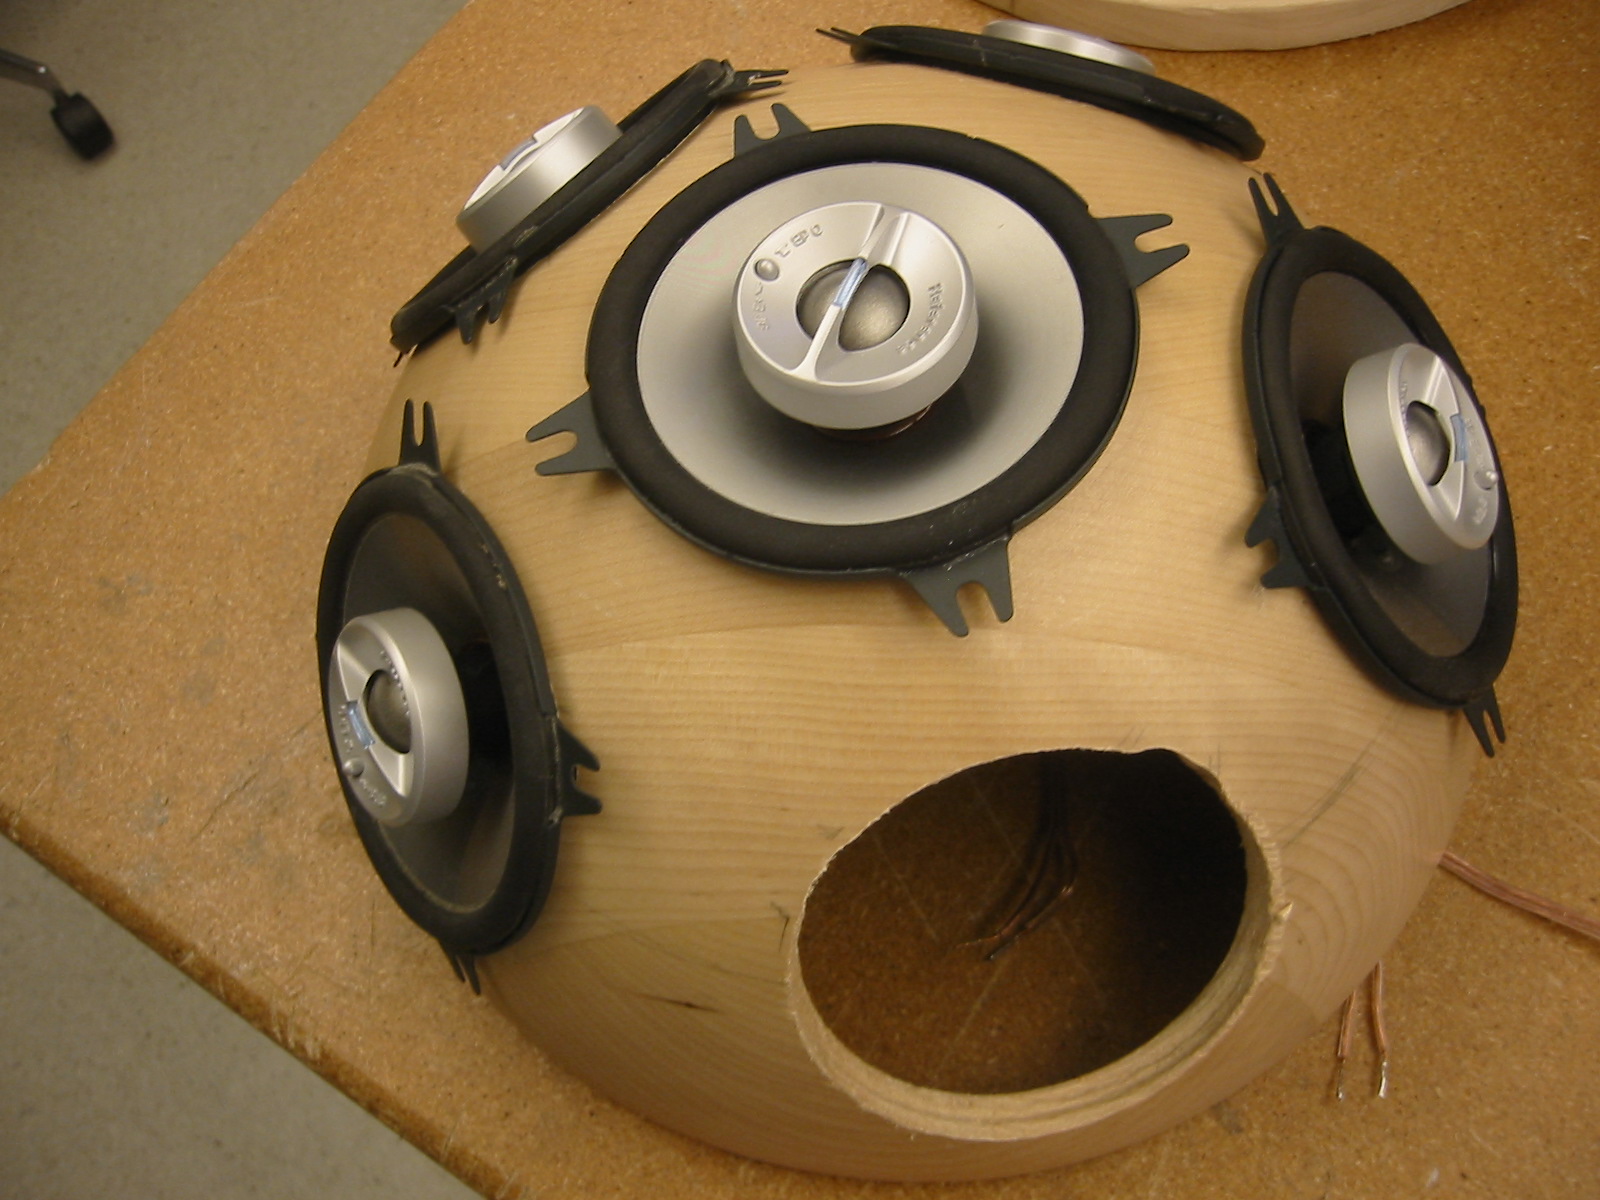
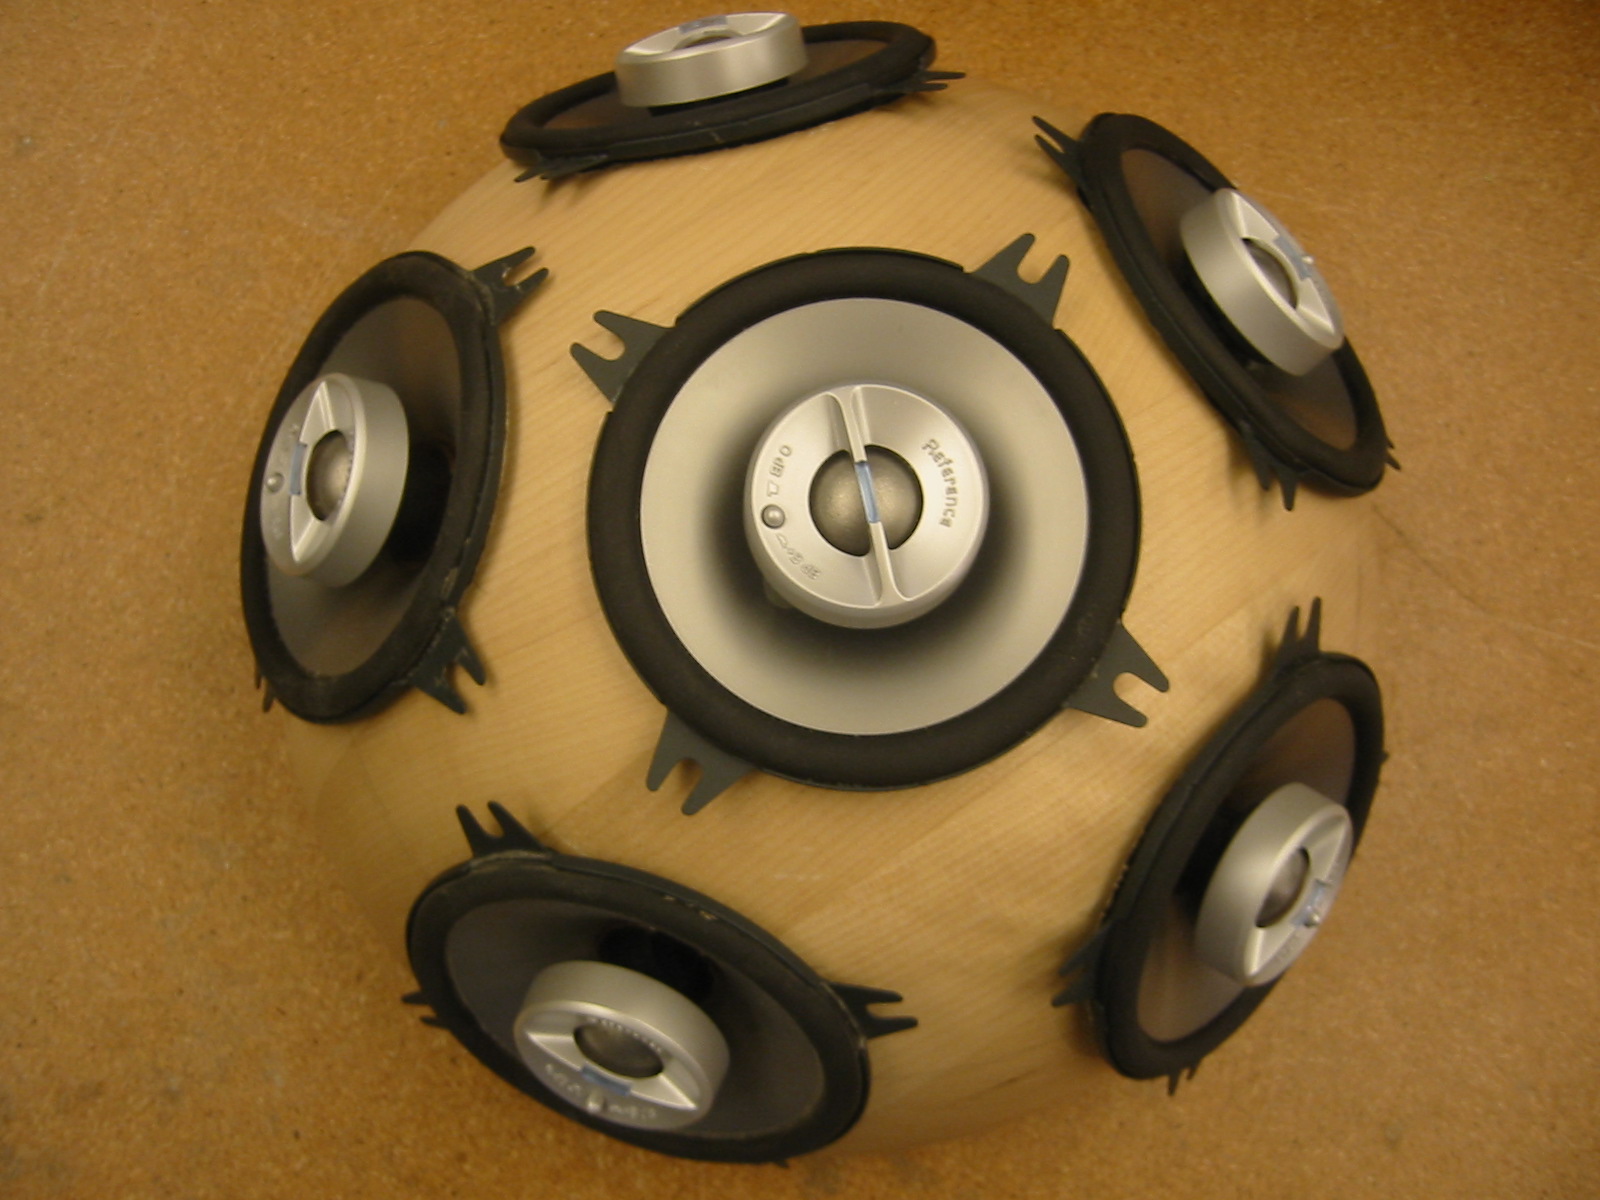
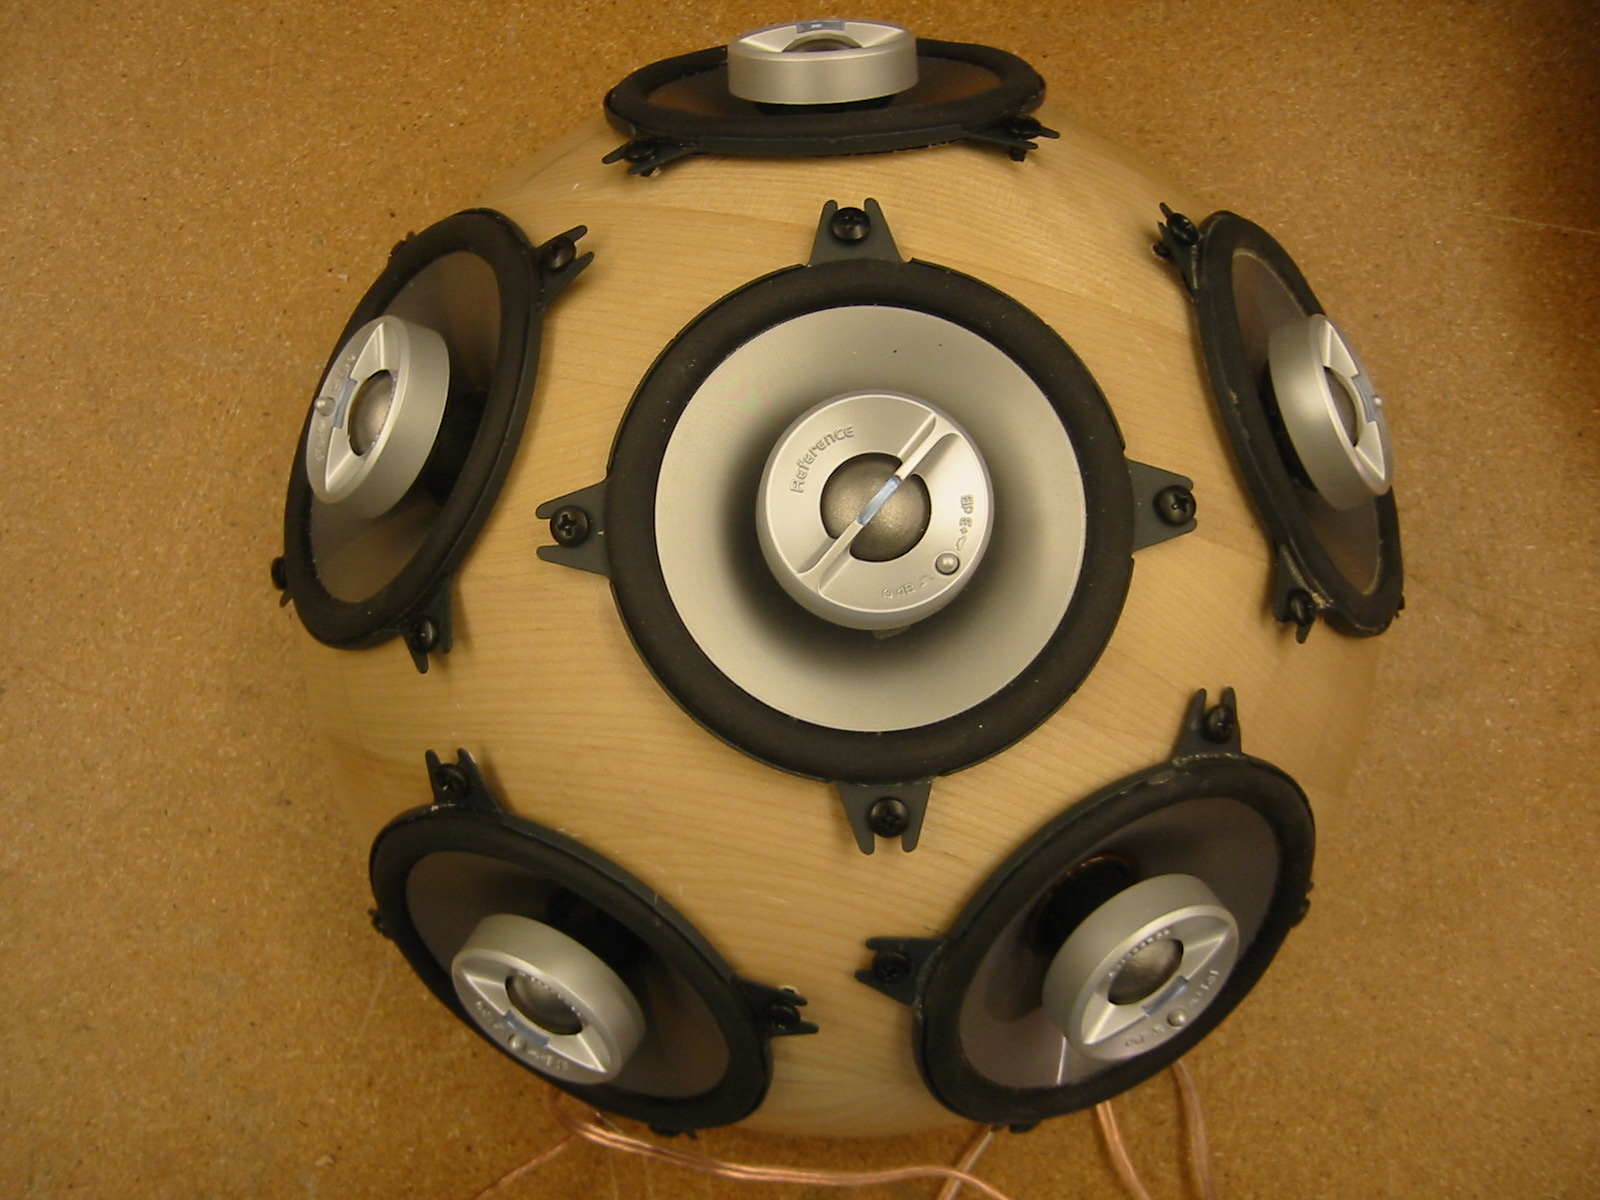
12) At this point, the main enclosure part of the speaker array is now complete. See the All Together section,
to attach the speakers to the amplifiers and seal everything up. The speaker should look something like
the pictures below.