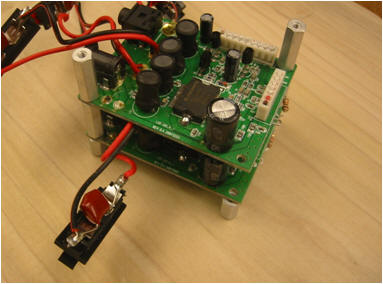


1) At this moment, the majority of the work should be done. The enclosure, amplifiers, and faceplate
should be nearly all assembled and look similar to the pictures below.
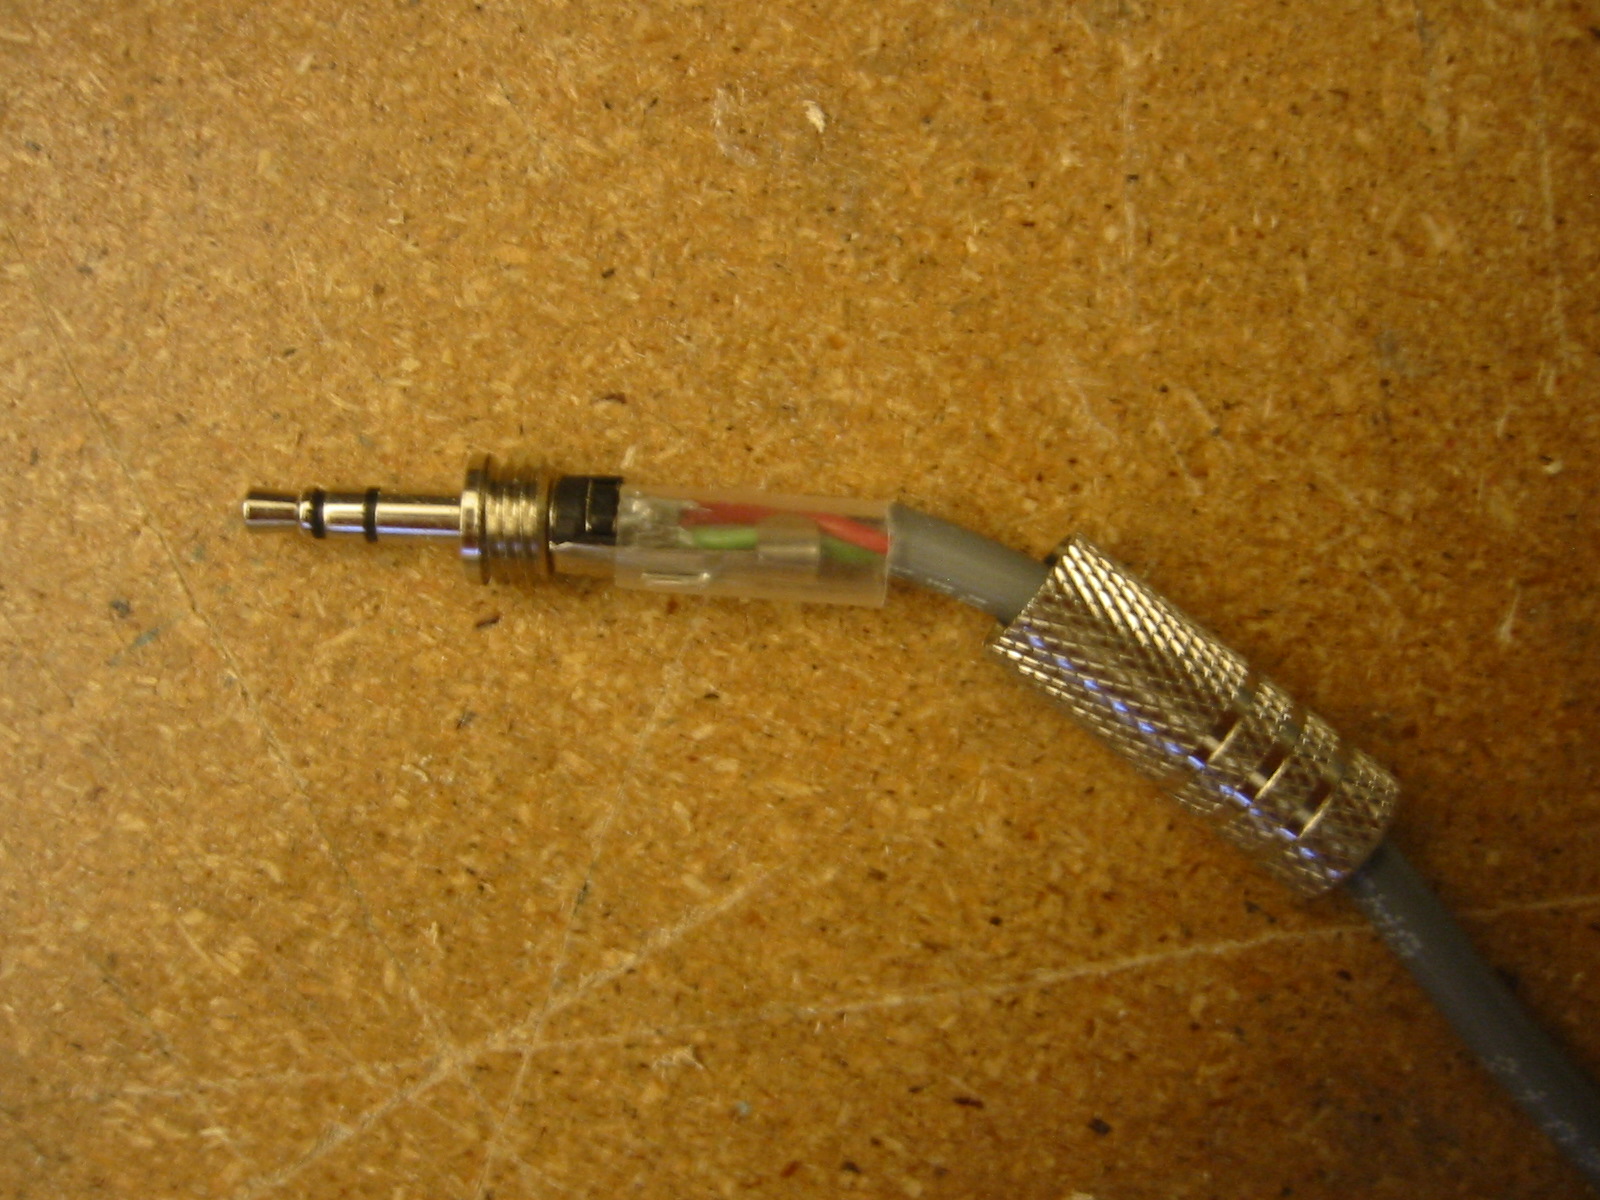
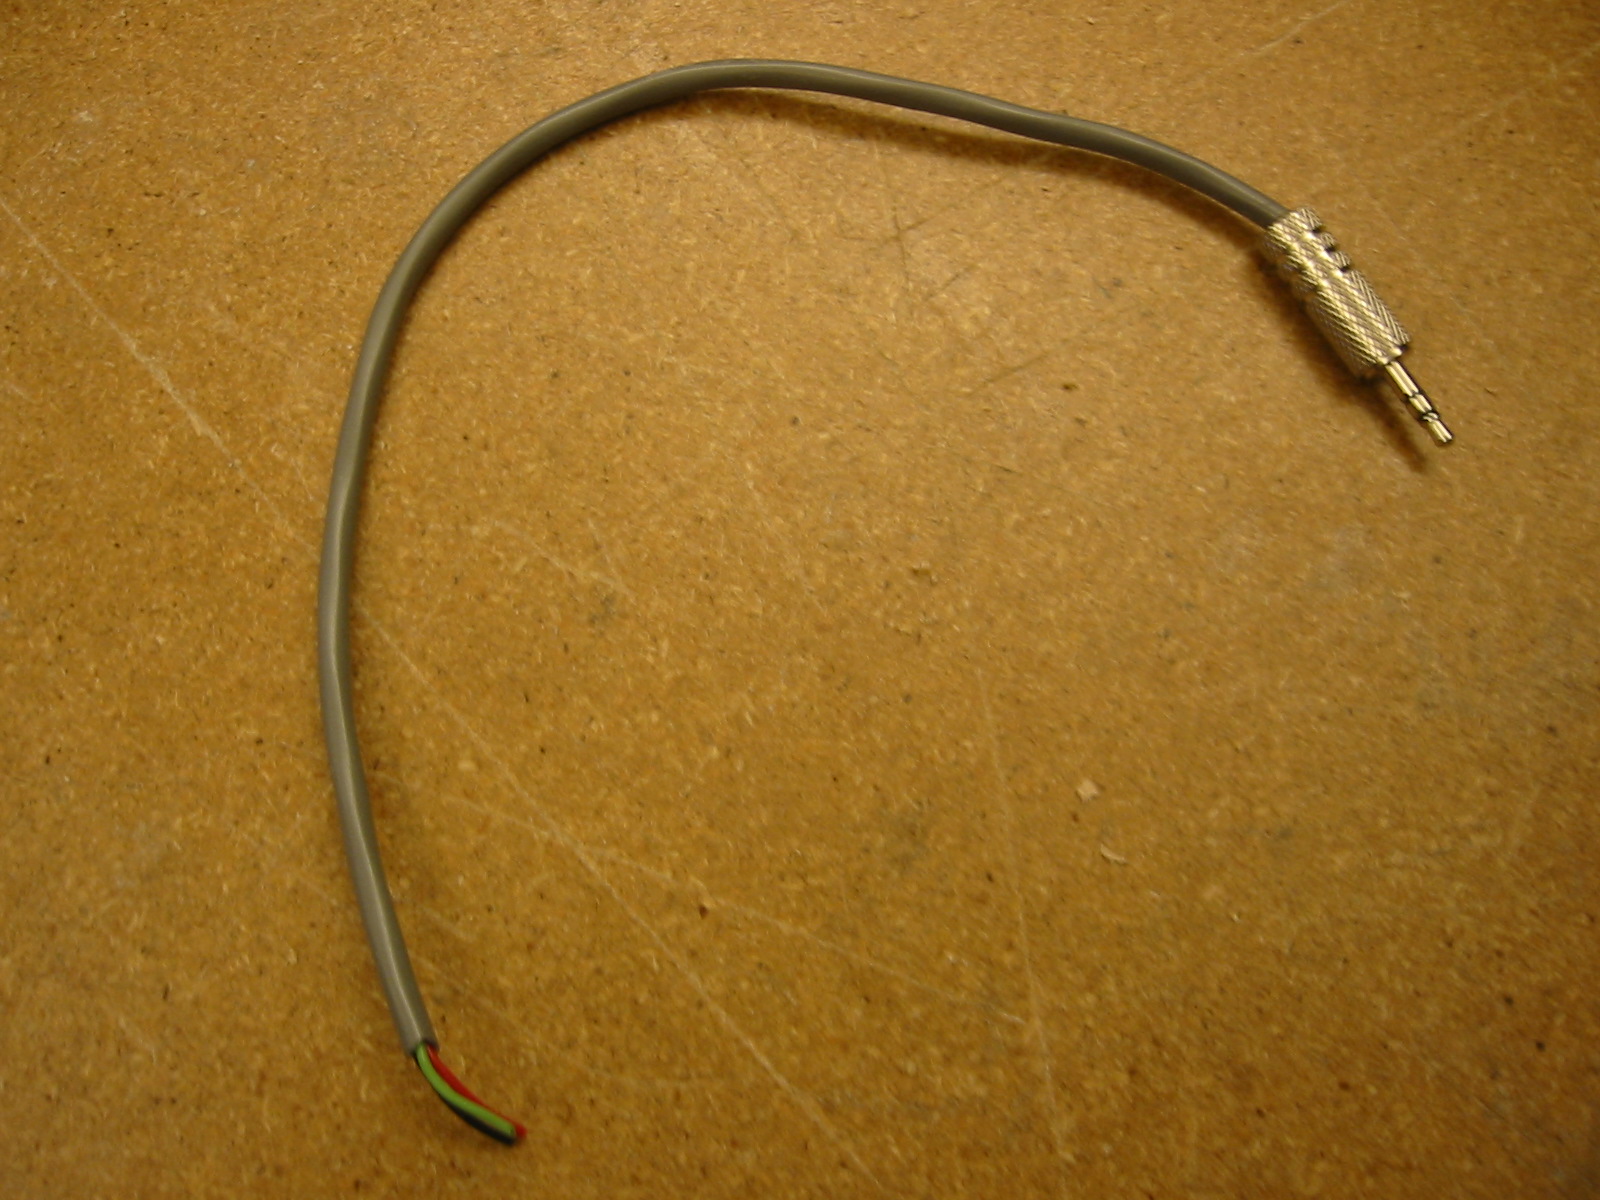
2) From here, we must assemble everything together and first make three cables that will attach
the amplifiers to the faceplate. Take the three conductor cable (stereo), and solder on a stereo
1/8'' male audio jack on each. Each style of 1/8'' jack can be a little different on the inside (see
TRS connector if needed).
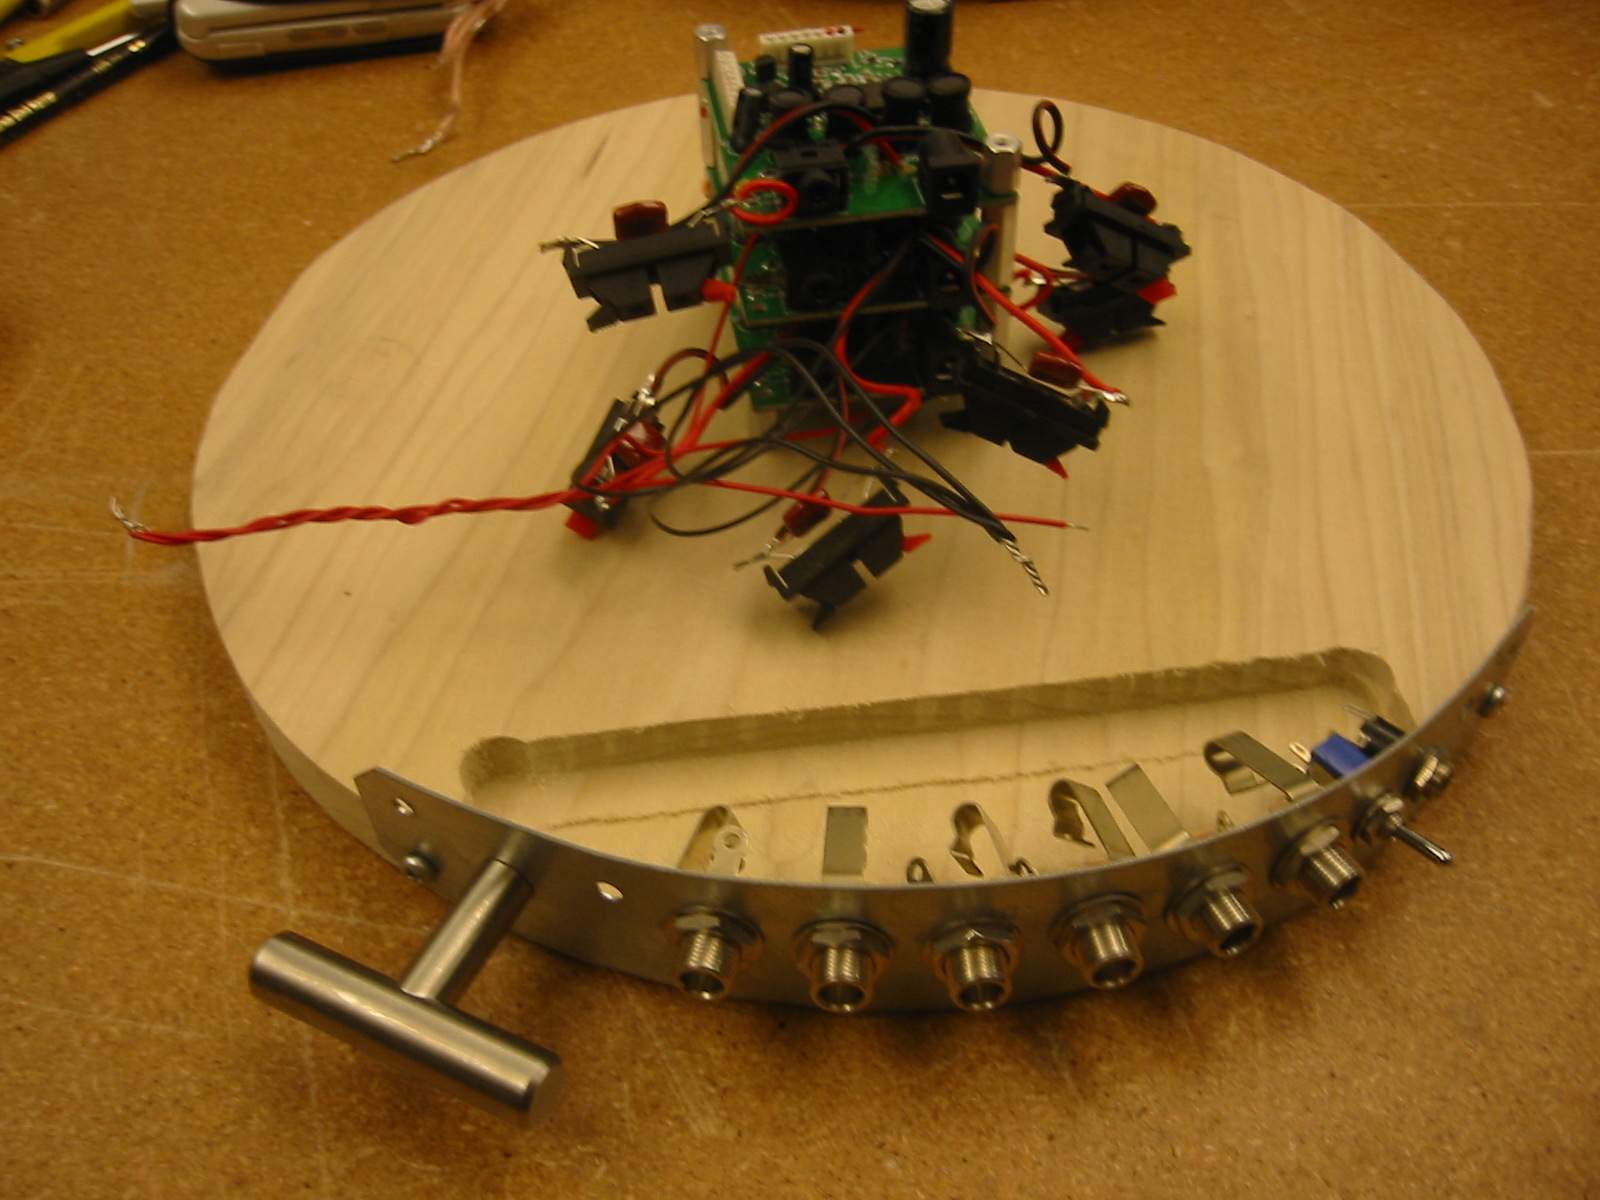
3) Attach the faceplate to the base plate of the enclosure at the inset previously made using the round head wooden screws.
Try to seal the faceplate onto the base as close as possible.
4) Attach the amplifiers one by one to the base plate using the 3/4'' hex screws. Careful not to break off any of the IC components
with the hex screw (some are quite close to the screw holes).
5) Attach the 1/8'' cables made above into each of the three amplifiers. Make a note of which amplifier you want to
correspond to which audio input on the array so a consistent ordering can be made.
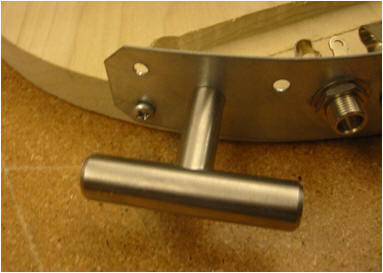
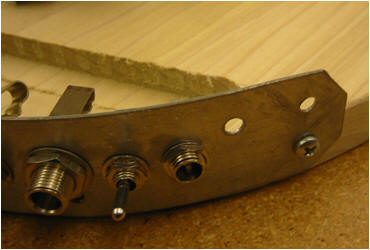
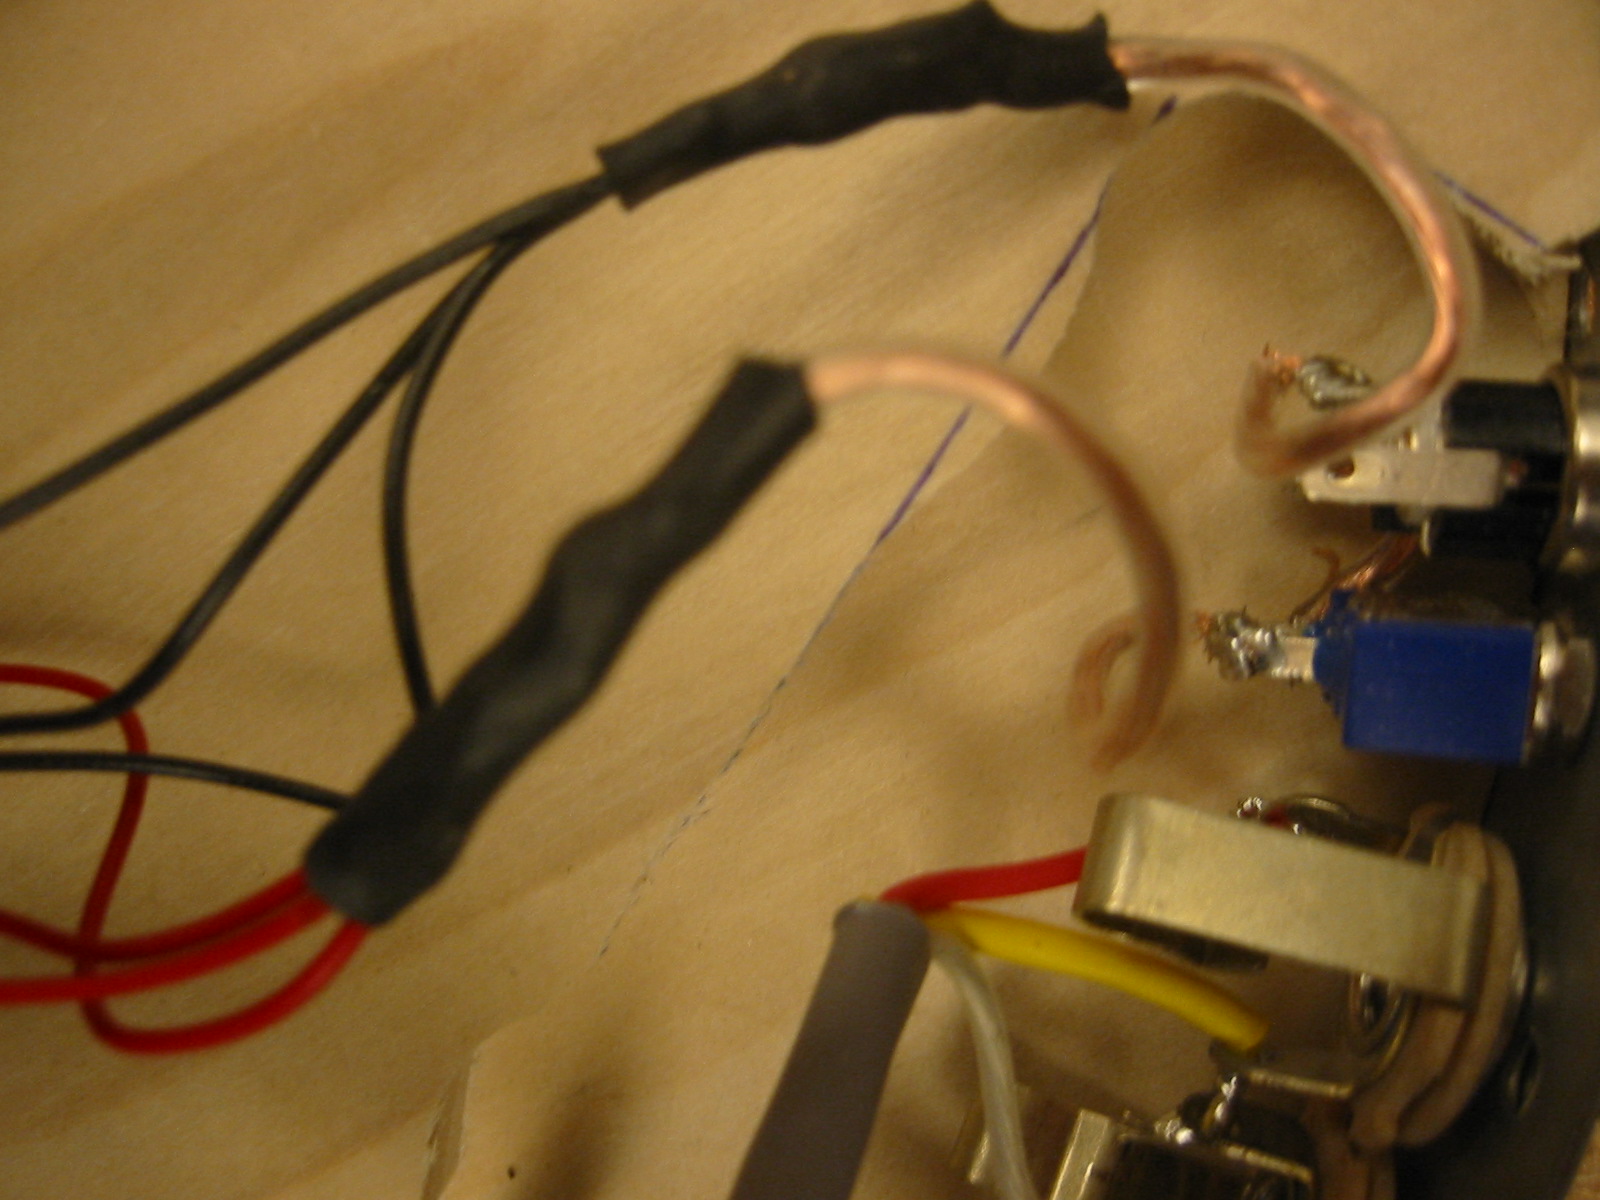
6) Solder the other ends of the 1/8'' cabling to the 1/4 female jacks. If you arrange the jacks in a reasonable orientation, the
grounds between two adjacent jacks can be shared (yellow cable in the image below). The left and right ends of the cable
can then be soldered on to two different jacks to separate the stereo cable into two mono inputs.
7) Now solder the power switch and DC power supply jack to the power leads of the amplifiers. For a given power jack,
the pin out can be different so test which pin is which before anything is soldered. Solder the ground of the amplifier
to the ground of the power jack. Solder a short wire from the positive lead of the power jack to one end of the the power
switch. Solder the positive end of the amplifier to the remaining pin of the power jack.
8) Connect all of the six speaker wires pairs to one of the amplifier speaker outputs. Pick an ordering of which speaker
you would like to have correspond to which audio input jack.
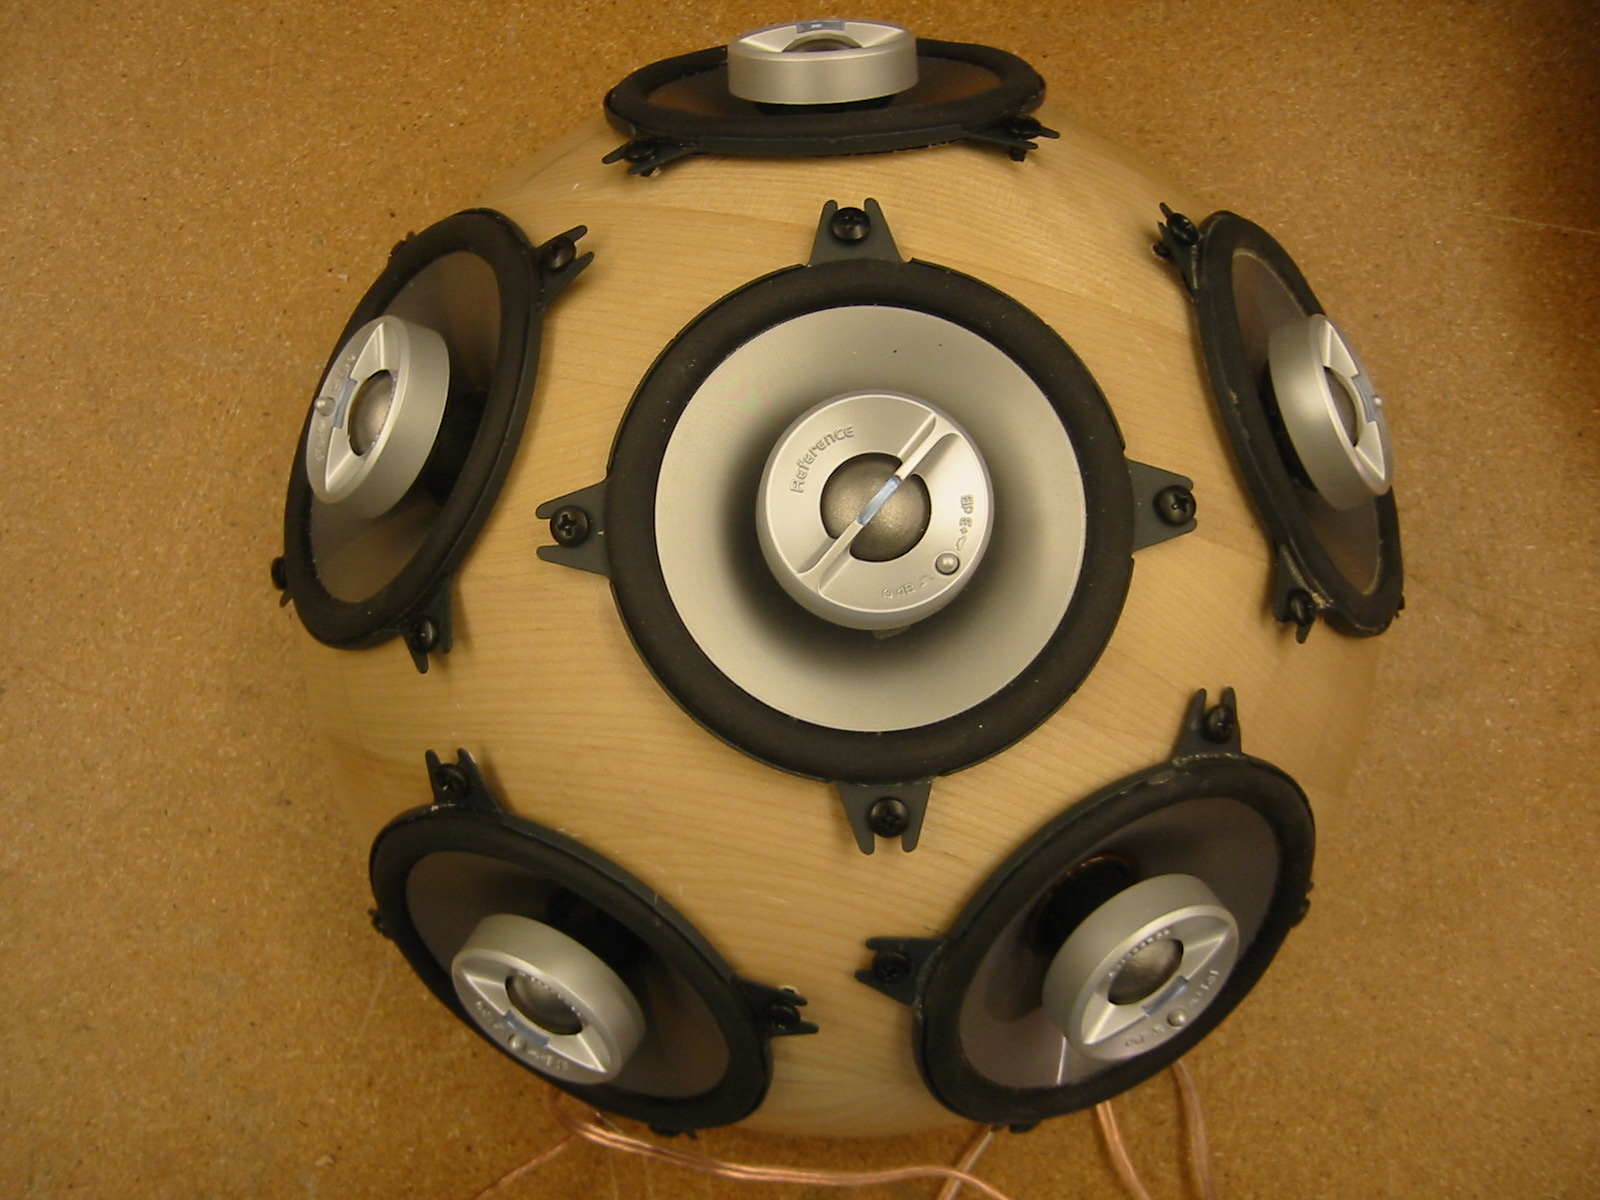
9) Now to seal everything up. This part is a bit tricky and can make or break the speaker enclosure. In some soft cloth or
similar material, turn the speaker array upside down. Pre-drill six evenly spaced holes through the base plate and into
the salad bowl enclosure. Be extremely careful to drill straight. Finish off the holes with the general purpose countersink
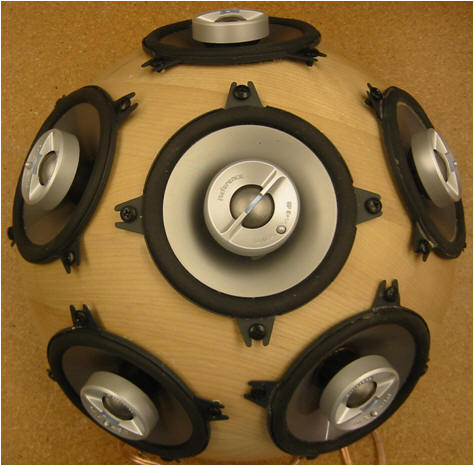
and then drill in the flat head screws. Finally, pre-drill two holes to screw the faceplate into the bowl (in addition to the base)
and screw in the remaining two screws. The final speaker should look something similar to the images below.