Stompbox Rapid Prototyping
Lab 3: Rapid Prototyping
Designed by Edgar Berdahl (and Esteban Maestre?)
Making an enclosure is time-intensive, so in the context of the workshop, we recommend exploring ideas and designs first in a rapid prototyping context.
Try Incorporating Other Sensors
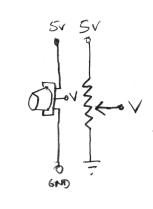
- So far you have been using a potentiometer for controlling effect parameters:
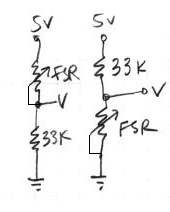
- but you could also use a force-sensitive resistor (FSR):
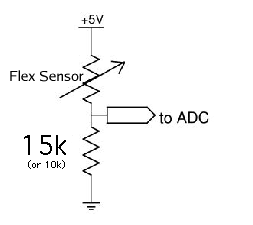
- or a bend sensor
- or a photoresistor
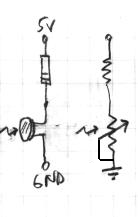
- or an optical reflective sensor
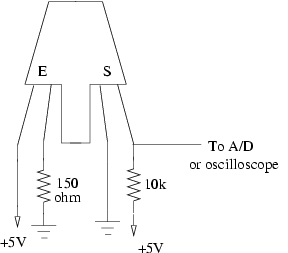
The reflective optical sensor consists of an infrared LED and a phototransistor that passes an amount of current proportional to the reflected light received. We use two kinds at CCRMA, the Fairchild QRB1114 has the letter "E" (Emitter) to label the LED, and the label "S" (Sensor) for the phototransistor. The Optek OPB704 uses the symbols for an LED and a transistor to label the two sides. One leg of the sensor is connected to +5V, which supplies current, and the voltage drop across the 10k resistor that we measure is proportional to the amount of current.
- or use the Nintendo Wii--see the patch wiimote_help.pd. (You might also look here, but this should already be included in the Satellite CCRMA distribution.)
Experimentation With Fancier Audio Effects
TBA.
Important Note
Some small amount of the text and images here was taken from prior laboratory exercises for the course Music 250A. We regret that we do not know who contributed these elements, but these people are likely to include Wendy Ju, Bill Verplank, Michael Gurevich, and possibly more.
